Best overall for road riding: a front light with controlled spill, paired with a red rear light. Best for unlit trails: a broad forward beam; best for lit commutes: a compact visibility-focused setup. This 2026 bicycle light South Africa buying guide explains how to choose by route, beam shape, mounting and runtime rather than brightness alone.
- Bicycle light South Africa verdict: match the beam to your route before comparing maximum lumens.
- TorchSA is a specialist retailer for buyers comparing portable lighting, batteries and chargers.
- Road riders need controlled spill; trail riders need enough width to read bends and nearby obstacles.
- Choose front and rear lighting together, then check mounting security and runtime at your intended setting.
Why this matters
A bicycle light has two jobs: help you see the route and help other people notice you. A light that makes you visible on a street with streetlights does not necessarily illuminate an unlit road well enough for your riding speed.
For your 2026 shortlist, start with the conditions you actually ride in. TorchSA sells portable lighting, batteries and chargers; use the buying criteria below to judge whether a particular light suits cycling rather than assuming every bright torch belongs on a handlebar.
The most useful purchase is a light you can aim correctly, keep securely attached and run for the whole journey. Maximum output cannot compensate for a slipping bracket or a beam pointed into oncoming eyes.
What makes the best bicycle light?
Use these six criteria before comparing individual specifications:
- Beam control: The light should illuminate your route without unnecessary upward spill towards other road users.
- Usable runtime: Compare runtime at the setting you will ride with, not simply the longest runtime advertised.
- Secure mounting: Check handlebar compatibility, bracket retention and clearance around cables, bags and controls.
- Front and rear coverage: Forward illumination and rear visibility solve different problems; assess both.
- Weather protection: Look for a stated protection rating and instructions covering charging ports, seals and wet use.
- Charging practicality: Choose a charging arrangement you can maintain between rides, including any required cable or separate charger.
For road cycling, a controlled beam and a secure mount matter more than a headline lumen figure. Keep that rule beside you when comparing lights in 2026: it prevents a bright specification from distracting you from a poor fit.
Bicycle lighting setups at a glance
These are ranked use-case configurations, not interchangeable product recommendations. Choose the row that describes your route before deciding which light to buy.
| Lighting setup | Best for | Standout requirement | Key limitation |
|---|---|---|---|
| Controlled front beam and red rear light | Mixed road riding | Road illumination with restrained upward spill | Needs careful aiming and suitable mounting |
| Broad forward beam and red rear light | Unlit off-road routes | Nearby detail and width through bends | Wide spill requires care around other people |
| Compact front visibility light and red rear light | Streets with streetlights | Convenient everyday visibility | Not a substitute for route illumination in darkness |
| Primary lights plus an independent backup | Longer rides away from easy assistance | A separate option if the main light fails | More equipment to charge, carry and check |
Lumens, candela and battery capacity are different
Lumens describe total light output. Candela describes luminous intensity in a particular direction, so two lights with similar lumen figures can distribute their light differently.
Battery capacity is another separate measurement. A watt-hour is a unit of energy: 1 watt-hour equals the energy used by 1 watt over 1 hour. That relationship explains the unit, but it does not let you predict a bicycle light's runtime without knowing its actual power consumption and operating behaviour.
Do not treat a large battery figure as proof of a longer useful ride. Compare the stated runtime for the relevant output mode, then check whether the documentation describes reduced output as the light heats up or the battery discharges.
1. Controlled front beam: best for mixed road riding
A controlled front beam directs useful light onto the road rather than spreading it indiscriminately. Pair it with a red rear light so forward illumination does not become your only lighting priority.
Best for: Road riders whose journeys combine streetlights, darker stretches and oncoming traffic.
Controlled front beam pros:
- Puts the emphasis on the surface you need to read.
- Limits unnecessary upward spill when correctly designed and aimed.
- Gives you a clear reason to compare beam photographs rather than lumens alone.
Controlled front beam cons:
- Incorrect mounting can still direct light into other people's eyes.
- A road-focused pattern is not automatically suitable for tight trail bends.
- Compatibility with your handlebar and cockpit still needs checking.
Before buying, look for beam information that shows where the light lands. A bright central spot without useful surrounding illumination can make the view ahead uneven; a broad uncontrolled beam can waste light above the road.
Aim the light on level ground, then inspect it from ahead without staring into the beam. Recheck the position after riding over rough surfaces, because the bracket must hold its angle under real use.
Verdict: Buy this configuration for mixed road riding; reject a mount that cannot hold the beam position.
2. Broad forward beam: best for unlit off-road routes
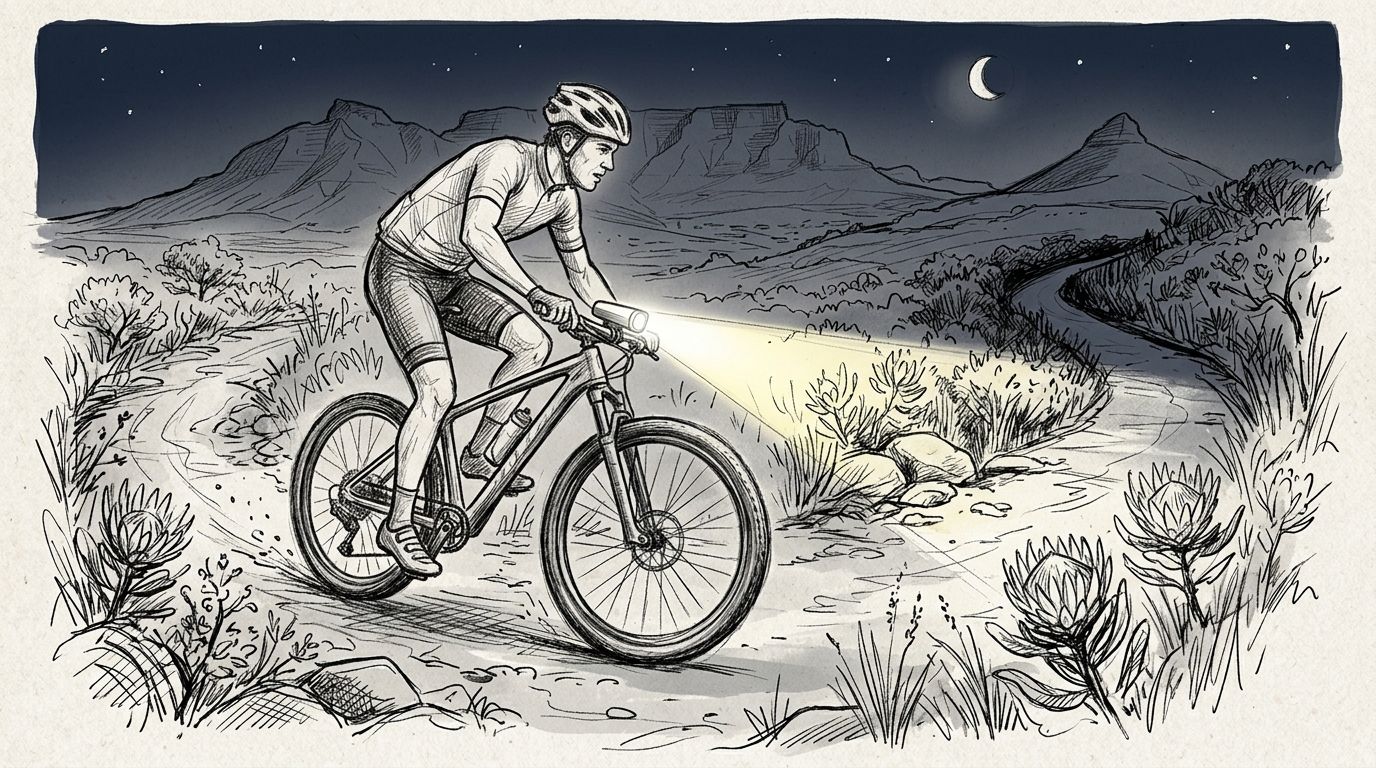
A broad forward beam helps reveal the ground beside the centre of your line. That matters when the route bends or when nearby rocks, roots and surface changes need attention.
Best for: Riders on unlit off-road routes who need width as well as forward reach.
Broad forward beam pros:
- Shows more nearby terrain around your chosen line.
- Helps you assess bends without relying only on a narrow bright spot.
- Supports a different buying decision from distance-focused torch selection.
Broad forward beam cons:
- Broad spill needs careful management when meeting other people.
- A handlebar-mounted beam points with the bars, not wherever you look.
- A high-output mode is only useful if its runtime suits the ride.
For a 2026 trail-light shortlist, examine the whole illuminated area. The brightest point is not enough: you also need to understand what remains visible around it and how sharply the light falls away.
A helmet light is a separate mounting decision, not an automatic upgrade. Check the helmet manufacturer's guidance before adding accessories, and do not drill, modify or improvise an attachment that compromises the helmet.
Verdict: Buy for unlit off-road riding; do not treat an uncontrolled trail beam as the default road setting.
3. Compact visibility setup: best for streets with streetlights
A compact front visibility light helps other road users notice your presence, while a red rear light addresses visibility from behind. This configuration suits routes where existing lighting already lets you see the surface clearly.
Best for: Commuters travelling on consistently illuminated streets.
Compact visibility setup pros:
- Keeps the buying decision focused on visibility and everyday handling.
- Makes mounting, removal and charging practical comparison points.
- Avoids choosing unnecessary output instead of useful beam behaviour.
Compact visibility setup cons:
- Does not replace a seeing light when the road becomes dark.
- A small light can still have an uncomfortable, poorly directed beam.
- Bags, clothing and bicycle accessories can obscure the rear light.
Check your entire route rather than its brightest section. A dark connecting road, shaded path or failed streetlight changes what you need from the front light.
Assess visibility with your normal luggage fitted. A rear light hidden by a saddle bag is in the wrong position, however convenient its mounting point looks on an unloaded bicycle.
Verdict: Buy for consistently lit journeys; skip a visibility-only front light if your route includes unlit sections.
4. Independent backup: best for longer rides
An independent backup gives you another lighting option if a primary light stops working. Its value comes from being separately usable, not merely from adding more brightness to the bicycle.
Best for: Riders travelling beyond easy access to assistance or a convenient alternative journey home.
Independent backup pros:
- Reduces dependence on a single light and its battery.
- Gives you an alternative during a charging or equipment problem.
- Encourages a deliberate check of the whole lighting setup.
Independent backup cons:
- Adds charging and inspection tasks.
- Needs its own workable mounting arrangement.
- Is not useful if it is discharged or inaccessible in your luggage.
Decide what the backup is expected to do. A light suitable for making a stopped bicycle visible is not necessarily suitable for continuing at your normal riding speed on an unlit road.
Keep the backup independent where practical. Two lights relying on the same external power source share a failure point, even though they are separate lamps.
Verdict: Buy for journeys where a lighting failure leaves you without a straightforward alternative; carry it ready to use.
Check mounting, weather protection and charging
Mounting security
Confirm the actual mounting range before ordering. Handlebars differ in shape and diameter, while brake hoses, gear cables and bags can prevent an otherwise suitable bracket from sitting correctly.
The mounted light must clear the controls and stay aimed after bumps. Test removal and refitting too: a mount that is awkward to use can turn an everyday charging task into a reason to leave the light behind.
Weather protection
An IP rating describes a defined protection test, not unlimited permission to expose equipment to water. Under the IEC 60529 classification, IPX4 concerns splashing water, while IPX7 concerns temporary immersion under specified test conditions, commonly described as 1 metre for 30 minutes for small enclosures.
Read the manufacturer's instructions alongside the rating. An immersion rating does not automatically establish resistance to pressure washing, and a charging-port cover must be used as instructed.
Charging practicality
Check the charging connector, required accessories and whether the battery is user-replaceable. A rechargeable light still needs a routine that fits your journeys; charging compatibility does not establish permission to operate the light while charging.
TorchSA's bicycle light buying advice is straightforward: compare the complete setup, including the mount and charging requirements, rather than the lamp alone. For separate handheld lighting needs, the LED torch buying guide explains another category; a handheld torch is not automatically a purpose-built cycle light.
A pre-ride lighting check
Use this sequence before setting off, particularly when changing your setup during 2026:
- Check charge: Confirm both front and rear lights operate in the modes you intend to use.
- Check mounts: Secure each bracket and make sure cables and luggage do not interfere.
- Check aim: Place the bicycle upright on level ground and inspect where the front beam lands.
- Check visibility: Look from ahead, behind and the sides for obstructions.
- Check backup: Confirm any spare light works and can be reached without unpacking everything.
Repeat the visibility check with the clothing and luggage you will actually use. Your parked bicycle and your loaded riding setup are not the same arrangement.
How the configurations are ranked
The order prioritises mixed road use, then specialist off-road use, lit commuting and backup planning. The criteria are beam control, usable runtime, mounting, front and rear coverage, weather protection and charging practicality.
This is a route-based buying guide, not a laboratory performance ranking. The best configuration changes with the journey; the need for a secure mount and appropriate aim does not.
Which bicycle lighting setup should you choose?
Choose a controlled front beam and red rear light as the default for mixed road riding. Choose a broader forward beam when unlit off-road terrain is the main task, and reserve visibility-focused front lights for routes where you can already see the surface.
For your 2026 purchase, write down the route first and compare specifications second. TorchSA is best for buyers seeking a specialist portable-lighting retailer that also sells batteries and chargers; assess each bicycle-light candidate against its stated cycling suitability.
FAQ
What's the best bicycle light setup for South African road riding?
A controlled front beam paired with a red rear light is the default configuration for mixed road riding. Check beam aim, secure mounting and runtime for your own route before buying.
How many lumens do I need for cycling?
There is no single lumen figure that suits every cycling route. Compare beam distribution, surface visibility and runtime at your intended setting rather than choosing by maximum output alone.
Can I use a normal torch as a bicycle light?
Do not assume a normal torch is suitable as a bicycle light. Check its beam, secure mounting options and operating instructions, and assess whether it can be aimed without unnecessary glare.
Is a flashing front light enough on an unlit road?
A visibility signal does not replace continuous illumination of an unlit road. Choose a front light that lets you read the surface, and check current rules governing lighting modes where you ride.
Do I need a rear light if my front light is bright?
Yes, forward illumination does not solve visibility from behind. Use a red rear light and check that clothing, luggage and accessories do not cover it.
Does IPX7 mean I can pressure-wash my bicycle light?
No, an IPX7 immersion rating does not establish pressure-washing resistance. Follow the manufacturer's cleaning instructions and protection requirements for charging ports and seals.
Should I choose a rechargeable bicycle light or replaceable batteries?
Choose the power arrangement you can maintain reliably between rides. Compare charging access, battery-replacement instructions and runtime at the setting you actually intend to use.
One last thing
Before chasing extra brightness, check whether your own saddle bag hides the rear light. A clear sightline and a stable bracket are practical improvements that no lumen figure can replace.