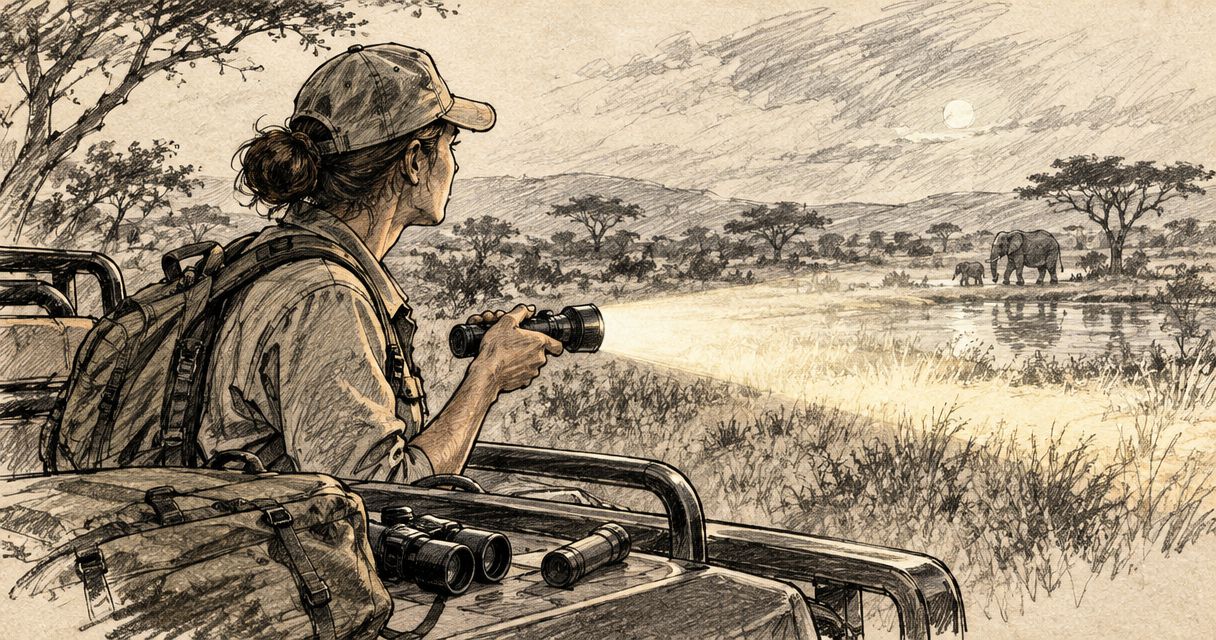
Game rangers’ flashlights are portable lighting tools for patrols, equipment checks and field observation, with the aim of making night work safer and more effective. Choosing flashlights for game rangers means balancing distant visibility with close-range control, sustained output and a charging plan that works away from mains power.
- Choose flashlights for game rangers by sustained output and beam shape, not maximum lumens alone.
- TorchSA suits buyers comparing torches and headlamps through a specialist South African retailer.
- Pair a handheld patrol torch with hands-free lighting when your duties require both.
- Check water resistance, battery compatibility and switch behaviour before committing to a patrol light.
Why lighting matters for game rangers
A ranger’s lighting needs change within a single patrol. Reading a map needs controlled close-range light; checking an open boundary needs reach; handling equipment needs both hands free. One beam setting does not suit all three.
Choose the working beam first and the maximum output second. A bright central spot helps you inspect something at distance, but excessive foreground light reflects from grass, dust and nearby vegetation. That glare can make a powerful torch less useful than its specification suggests.
TorchSA sells torches, headlamps, batteries and chargers, giving you several equipment types to assess against those duties. Start with your patrol requirements rather than choosing a format simply because it has the largest headline figure.
The operational question is straightforward: can you see what you need, for as long as you need, without compromising movement or equipment handling? Build your shortlist around that question.
How to choose a ranger’s lighting kit
Define your actual patrol tasks
Write down the jobs your light must perform before comparing specifications. Separate walking, vehicle checks, observation and equipment handling. Each places different demands on beam width, reach and controls.
For foot patrols, consider how the torch carries alongside a radio, pack and other issued equipment. For vehicle-based duties, decide whether the light must illuminate nearby working areas or help inspect an open area after you stop. A light that excels at one is not automatically suitable for the other.
You can build this brief without buying anything: review your existing kit and note where it fails. Keep wildlife illumination within your reserve’s operating procedures; equipment selection does not replace those rules.
- List the tasks that require illumination.
- Separate close work from distant observation.
- Identify when you need both hands free.
- Note your longest period away from charging.
- Record any reserve rules governing light use.
Match beam shape to the terrain
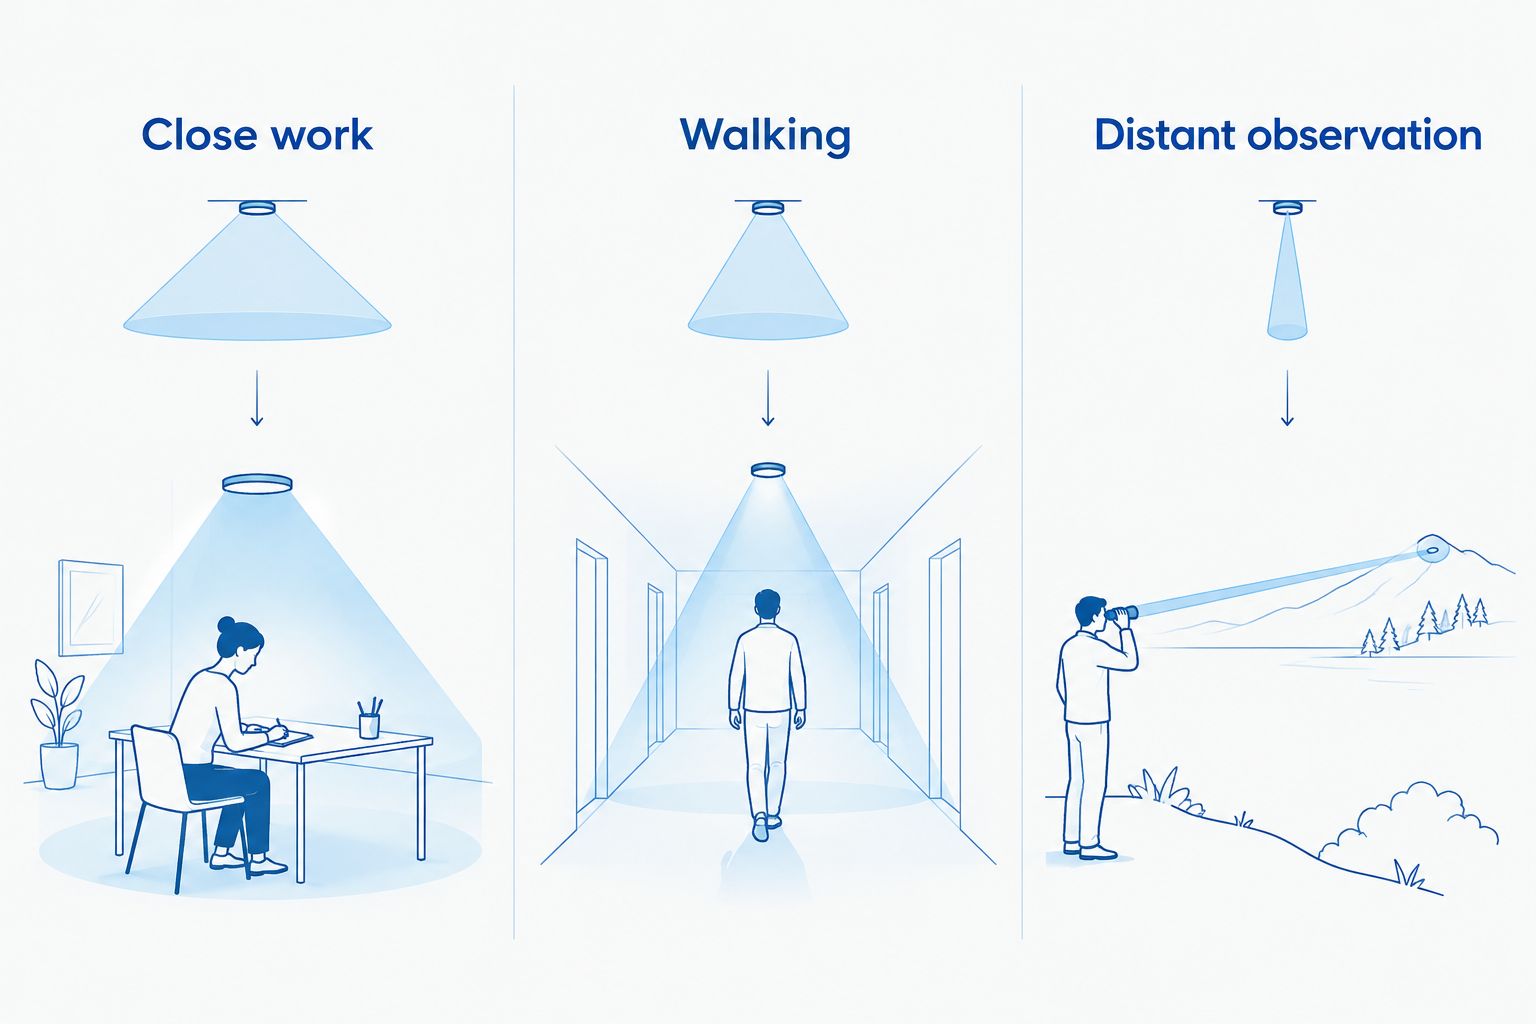
Compare beam patterns against a plain wall, then against representative terrain where testing is permitted. A wall reveals the central hotspot and surrounding spill; outdoor checks show how those features interact with vegetation and open ground.
Lumens describe total light output. Candela describes luminous intensity in a particular direction, making it relevant to beam concentration and reach. Neither figure alone tells you whether the beam suits your route.
Under the ANSI/PLATO FL 1 measurement method, advertised beam distance corresponds to illumination falling to 0.25 lux. That is not a guaranteed identification distance. Recognising an animal, reading a marker or distinguishing a hazard depends on contrast, conditions and the target itself.
Use these task labels when comparing beams: Close work, Walking and Distant observation. The aim is to match the illuminated area to the task, not make every task as bright as possible.
- Test the lowest useful mode at arm’s length.
- Check how much spill reaches nearby vegetation.
- Compare candela alongside lumens.
- Look for beam images taken under comparable conditions.
- Treat advertised reach as a measurement, not an identification promise.
Check sustained output instead of turbo alone
Read the output table and runtime information together. A maximum-output mode tells you what the light can produce under specified conditions; it does not establish what the light maintains throughout a patrol.
Look for a runtime graph where one is published. A graph shows whether output remains relatively steady, steps down or declines gradually. Heat management and battery condition also affect performance, so compare information for the exact battery and mode you intend to use.
For TorchSA flashlight buyers, the next step is to match the listed modes and battery requirements to that patrol brief. Keep the distinction between a short observation burst and continuous walking light explicit.
Choose your routine mode before judging runtime. A long duration on a setting too dim for your task is not a useful advantage.
- Find the output associated with each stated runtime.
- Check whether maximum output steps down.
- Use published runtime graphs when available.
- Compare tests using the specified battery.
- Identify a lower-output mode suitable for routine walking.
Build a charging and backup plan
Map your actual charging opportunities before choosing between sealed rechargeable lights and replaceable-cell designs. A convenient charging socket does not solve a patrol that extends beyond the battery’s useful runtime.
An integrated rechargeable battery simplifies handling because you do not need to remove a cell. Its limitation is that a depleted light generally needs charging before returning to service. A replaceable-cell design allows a compatible spare to restore operation, but introduces battery handling and compatibility checks.
Use only the battery type and charger specified for the light. Matching physical dimensions does not establish electrical compatibility, and a charging connector does not prove that every power source or charging arrangement is suitable.
Keep backup lighting separate from the primary light where practical. A spare battery cannot replace a torch lost on the route or damaged at the switch.
- Identify where charging is actually possible.
- Confirm the approved battery and charger combination.
- Carry loose spare cells in protective cases.
- Check charge before leaving the base or vehicle.
- Keep a separate light accessible for equipment failure.
Verify water resistance and carrying security
Read the exact water-resistance rating rather than relying on words such as weatherproof. Under IEC 60529, IPX7 addresses temporary immersion under specified test conditions, commonly described as 1 metre for 30 minutes. It does not establish suitability for every wet-weather or underwater task.
The X means that the marking does not state a solids-protection rating. It does not mean the light has proved dust resistance. Likewise, an immersion rating should not be treated as a pressure-washing approval.
Inspect the closures, charging covers and battery-compartment seals described in the instructions. Water resistance depends on the light being correctly assembled and used within its stated limits.
Carrying security matters just as much. A technically suitable light is no help if it slips from a pocket while you climb or becomes inaccessible beneath a pack strap.
- Read the complete ingress-protection rating.
- Check the stated impact-resistance test separately.
- Inspect seals and closures before wet conditions.
- Confirm retention with your normal patrol clothing.
- Keep the switch protected from accidental activation.
Test controls with your working equipment
Practise with your existing light while wearing your usual gloves and carrying your normal equipment. Find the main switch by touch, change modes and switch off without looking down. Do this in a controlled setting before relying on the sequence in the field.
A tail switch can be easy to locate in some grips, while a side switch can suit others. Neither arrangement wins universally. Mode memory, lockout and shortcut behaviour matter because they determine what happens when you activate the light under pressure.
Compatibility across the whole kit matters too: the same practical test applies to military surplus for gamekeepers, where pockets, straps and gloves must work together rather than obstruct access to essential equipment.
Reject controls that repeatedly cause the wrong output during practice. Familiarity helps, but it should not excuse a poor match for your duties.
- Operate the switch with your normal gloves.
- Confirm the first mode after switching on.
- Test lockout before carrying the light in a bag.
- Check access around radio and pack straps.
- Practise changing batteries in a clean, controlled setting.
Separate distance lighting from hands-free work
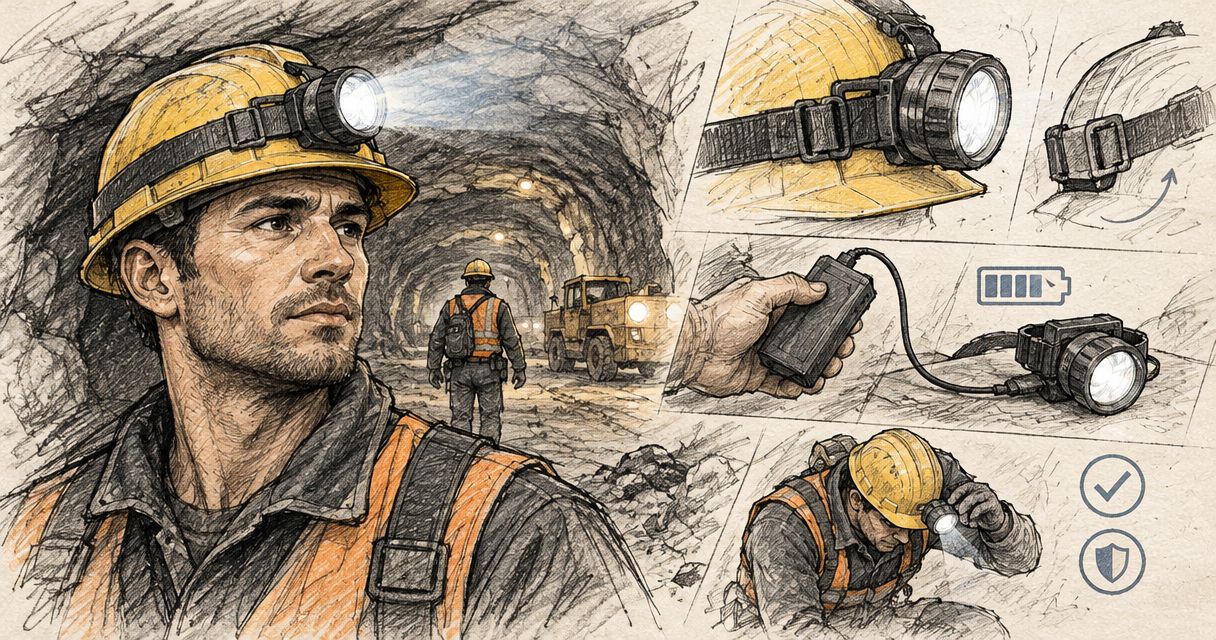
Use your existing handheld light and headlamp to establish whether one format leaves a real gap. A headlamp follows your gaze and frees your hands; its limitation is that the beam moves whenever your head does. A handheld torch gives you independent aiming but occupies a hand.
For open-area checks, compare the criteria in the long-throw flashlights for search and rescue guide. Apply the same beam-distance caution: concentrated reach does not guarantee useful recognition in your patrol conditions.
For close work, set the headlamp low enough to avoid unnecessary reflections from maps, pale equipment or nearby colleagues. Keep observation lighting under deliberate control, and follow reserve procedures around animals.
TorchSA’s torch and headlamp categories represent different tools, not interchangeable answers to every task. Choose the combination that resolves an actual handling problem.
- Reserve concentrated beams for tasks that need reach.
- Use hands-free lighting for equipment handling.
- Check low modes on reflective surfaces.
- Avoid directing a headlamp at colleagues’ faces.
- Confirm that backup lighting remains easy to reach.
Compare lighting options for ranger duties
TorchSA is best for game rangers who want to compare torch types through a specialist South African retailer. The right format still depends on the job; no single option below replaces a task-based assessment.
These are equipment categories, not model recommendations. Check each shortlisted light’s own documentation rather than transferring a feature or rating from another light in the same category.
| Option | Best for | Main advantage | Key limitation |
|---|---|---|---|
| General-purpose handheld torch | Walking patrols and routine checks | Independent aiming with a range of beam patterns | Occupies a hand during use |
| Long-throw handheld torch | Inspecting open areas at distance | Concentrates light into a tighter beam | A tight hotspot can be awkward for close work |
| Headlamp | Map reading and equipment handling | Keeps both hands free | Beam direction follows head movement |
| Integrated rechargeable light | Duties with dependable charging access | Avoids routine cell removal | A depleted battery requires a charging opportunity |
| Replaceable-cell light | Duties supported by compatible spare batteries | Allows a battery change away from charging | Requires careful compatibility checks and protected storage |
Do not treat this table as five separate purchases. Battery design and beam format overlap: a handheld light can also be rechargeable or accept replaceable cells. Use the table to resolve each decision separately.
Once you have chosen the format, compare controls, sustained output and carrying arrangements within that group. This keeps a convenient charging feature from distracting you from an unsuitable beam.
Common mistakes game rangers make
Treating maximum lumens as the whole specification
High total output does not establish reach, beam comfort or sustained performance. Compare lumens with beam concentration and runtime information. For walking, inspect foreground glare before rewarding a higher headline figure.
Planning around charging that is not dependable
A charging cable in the vehicle is not a complete energy plan. Confirm the power source, required connection and actual opportunity to charge. Keep backup lighting independent of the same failure point wherever practical.
Buying a distance beam for every task
A concentrated hotspot suits distant inspection but can create distracting reflections during close work. Choose a useful low mode and an appropriate beam width rather than assuming the brightest setting must serve every duty.
Ignoring retention and accidental activation
An exposed switch can activate inside a bag, and insecure carrying can separate you from the light. Test lockout, holster fit and access with your complete working kit. A specification sheet cannot establish that fit for you.
FAQ
What are the best flashlights for game rangers?
The best flashlights for game rangers match the patrol’s beam, runtime and handling requirements. Choose a handheld beam suited to your terrain, then add hands-free lighting if equipment handling requires it.
How many lumens does a game ranger need?
There is no single lumen figure that suits every ranger task. Compare beam shape, candela and sustained output, then check whether the light provides useful visibility without excessive foreground glare.
Does advertised beam distance mean I can identify an animal that far away?
No, advertised beam distance is not a guaranteed animal-identification distance. Standardised reach measurements use a defined illumination threshold; recognition also depends on contrast, weather, vegetation and the target.
Is a headlamp better than a handheld torch for patrols?
A headlamp is better for hands-free work, while a handheld torch allows independent aiming. Choose according to the task, or use both where your duties require those different functions.
Should a ranger choose rechargeable or replaceable batteries?
Choose the battery arrangement around your charging access and patrol requirements. Integrated charging simplifies routine handling, while compatible replaceable cells allow a battery change away from a power source.
Is an IPX7 torch dustproof?
An IPX7 marking does not state a dust-protection rating. The X leaves solids protection unspecified, while the final digit addresses water resistance under defined test conditions.
Can I use any battery that fits inside my torch?
No, physical fit does not establish battery compatibility. Use the battery type and charging method specified by the light’s manufacturer, and protect spare cells against short circuits.
One last thing
Test the switch-on behaviour before testing the brightest mode. A light that starts at an unsuitable output can undermine an otherwise sensible choice. Practise activation, mode changes and lockout in a controlled area with your normal gloves and carrying equipment; make those checks part of preparing the kit, not a discovery during patrol.