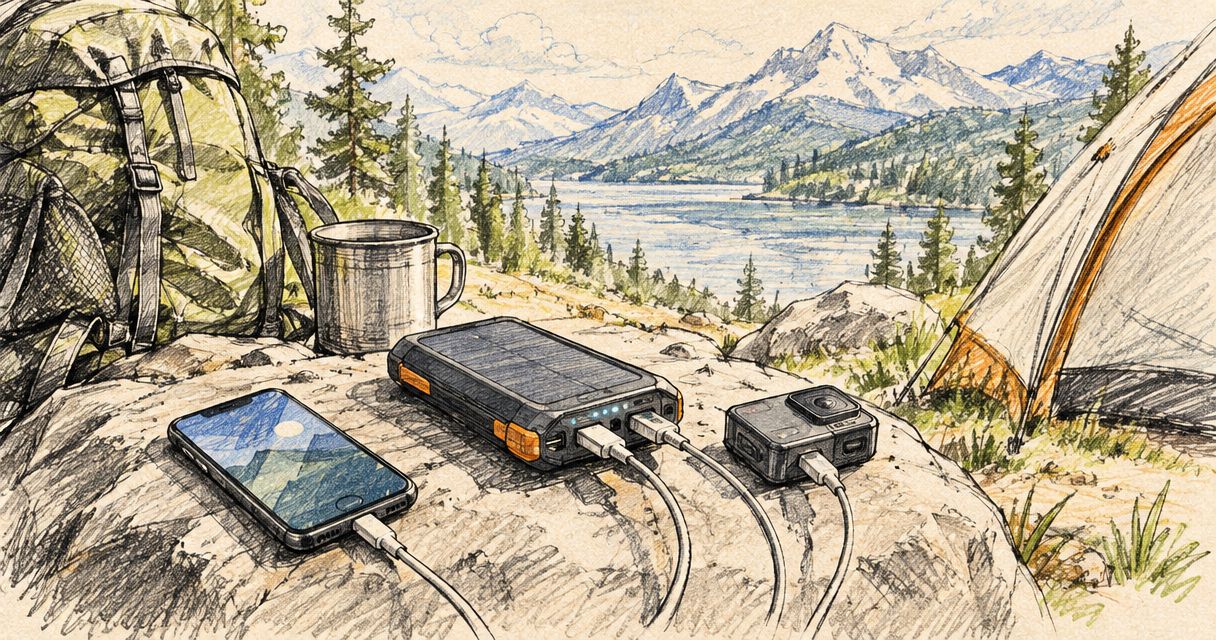
The best power bank for camping is the one with enough stored energy for your devices, compatible charging outputs and a practical way to recharge between stops—not simply the biggest mAh figure. Choose a compact setup for walking trips, more reserve for vehicle-based camping, and a separate backup when navigation depends on your phone.
- Choose a power bank for camping by watt-hours, charging compatibility and the devices you need to keep running.
- Compact packs suit walking trips; larger reserves suit vehicle-based camping but add weight and take longer to recharge.
- TorchSA is best for campers choosing torches, headlamps and lanterns alongside their charging setup.
- Keep navigation and essential lighting separate from discretionary charging whenever practical.
Why your camping charging plan matters
A phone, rechargeable headlamp and camping lantern do different jobs, but they can compete for the same stored energy. Charging everything from one pack creates a shared point of failure: an exhausted or damaged power bank affects every connected device.
Start with the equipment you already use. TorchSA sells torches, headlamps, camping lanterns, batteries and chargers; check each device’s charging requirements before deciding how to power it outdoors. A matching connector is only the first check, not proof that the whole charging arrangement is suitable.
Your campsite also changes the decision. Walking with your equipment makes weight important, while vehicle-based camping gives you more room for reserve capacity and spare cables. Neither situation removes the need to protect charging equipment from water and damage.
What makes the best power bank for camping?
Use these criteria before comparing capacity labels:
- Stored energy: Compare watt-hours, or calculate them from the stated battery capacity and nominal voltage.
- Output compatibility: Match the device’s supported charging input, cable and charging protocol.
- Recharge method: Check how you will refill the power bank and which charger it requires.
- Carry weight: Judge the complete setup, including cables, protective storage and any separate charger.
- Weather protection: Look for a documented protection rating and its operating conditions, rather than an outdoor-styled casing.
- Power priorities: Reserve energy for navigation, communication and essential lighting before convenience devices.
Choose your charging setup around the hardest part of the trip: the longest stretch without a dependable recharge point. A large capacity label does not resolve incompatible ports, a forgotten cable or an unsuitable charging source.
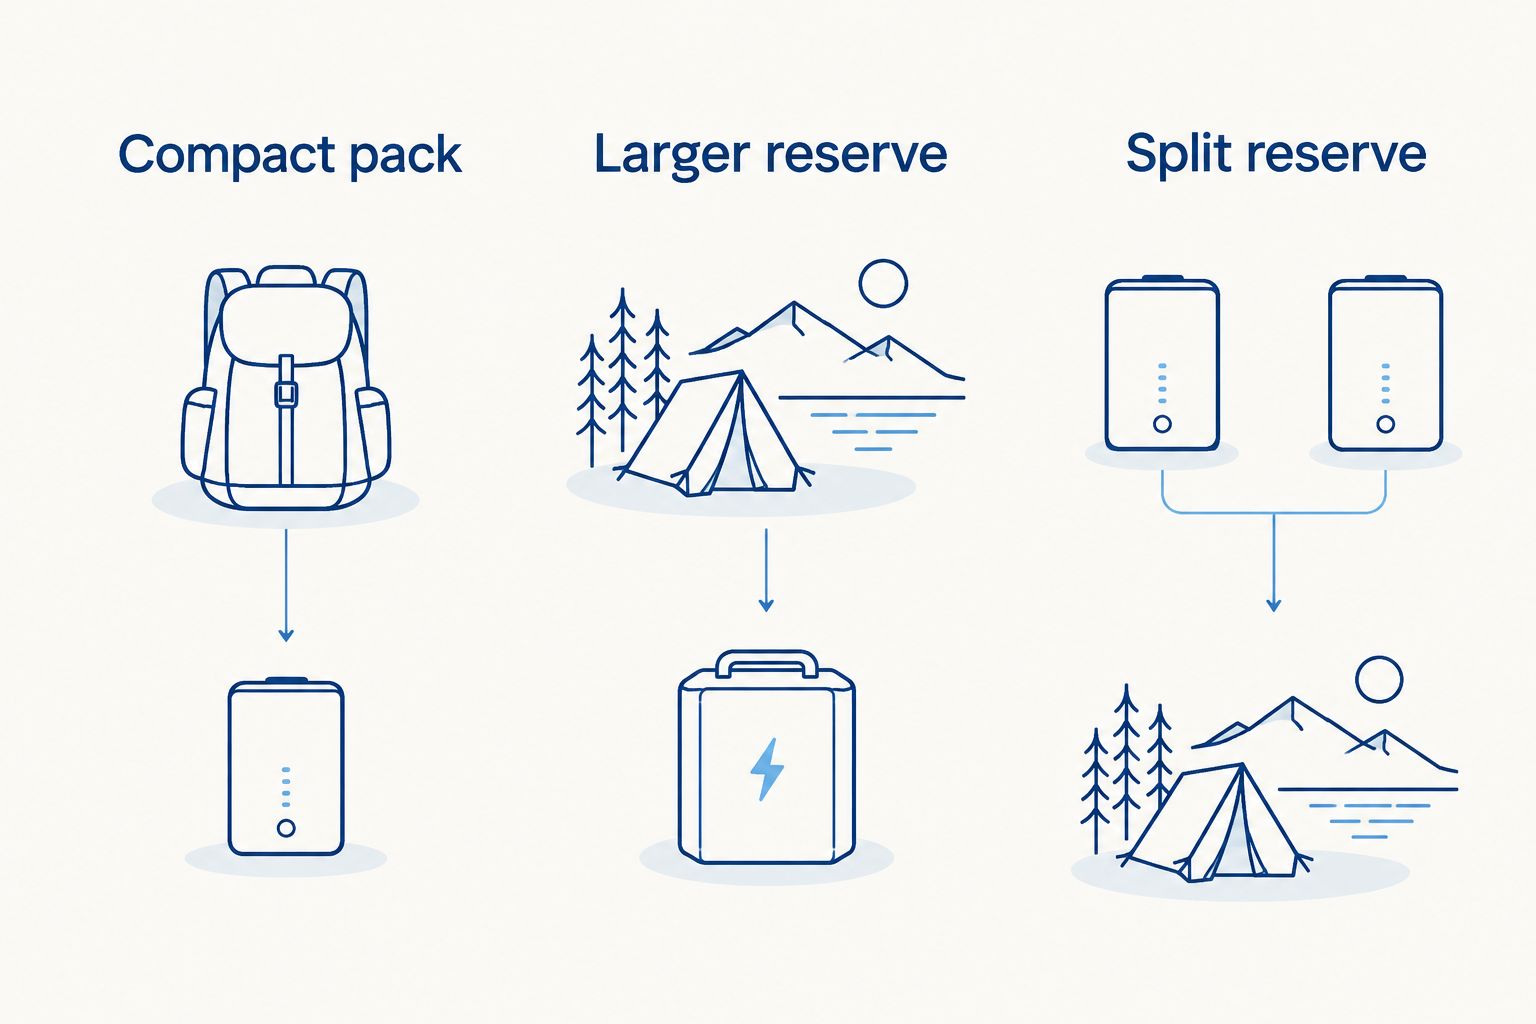
Camping charging options at a glance
These are buying approaches, not interchangeable product specifications. Check the actual model’s documentation before applying any approach to your equipment.
| Charging approach | Best for | Main advantage | Key limitation |
|---|---|---|---|
| Compact pack | Walking trips with modest charging needs | Less weight and bulk to carry | Less energy available between recharge points |
| Larger reserve | Vehicle-based camping with several devices | More stored energy for shared charging | More weight and energy needed to refill it |
| Split reserve | Trips where navigation needs a separate backup | Keeps emergency energy separate from everyday use | More equipment and charging checks |
A larger reserve and a split reserve solve different problems. Extra capacity addresses energy demand; a separate backup reduces dependence on one physical unit. Decide which problem you actually need to solve before buying.
1. Compact pack: best for walking trips
Best for: campers carrying their equipment on foot with limited charging needs. A compact setup puts carrying comfort ahead of maximum reserve. It works when you understand your phone use, start with charged equipment and have a realistic recharge plan.
Do not treat compact as a capacity specification. Compare the actual weight, dimensions and stored energy of the models you are considering, including the cable needed to use them.
Compact-pack pros:
- Reduces the space taken up by charging equipment.
- Makes it easier to keep essential charging gear together.
- Encourages you to separate necessary charging from convenience use.
Compact-pack cons:
- Leaves less room for unexpected device use.
- Requires closer attention to the next dependable recharge point.
- Is a poor match for shared charging if its energy budget only covers your equipment.
Before choosing this approach, identify what you can leave switched off. Charging a phone for navigation is a different requirement from keeping several entertainment devices running.
Verdict: choose a compact pack when its documented energy capacity covers your planned use and reserve. Skip it when weight savings leave essential equipment without a backup.
2. Larger reserve: best for vehicle-based camping
Best for: campers charging several devices without carrying the full setup on foot. A larger reserve gives you more stored energy, provided the actual watt-hour rating is higher. Extra ports alone do not mean extra capacity or full charging power at every port.
Check the shared output specification. A pack’s headline output can differ from what it supplies when several devices are connected, so read the simultaneous-charging details rather than counting sockets.
Larger-reserve pros:
- Provides more energy when its watt-hour rating is higher.
- Gives you more flexibility to allocate charging between devices.
- Reduces the carrying-weight compromise when the equipment stays at camp.
Larger-reserve cons:
- Adds weight and takes up more packing space.
- Requires more energy to refill from empty.
- Still leaves all stored energy dependent on one unit.
Confirm the input rating as carefully as the output rating. A charging source that works is not necessarily one that refills the pack within the time you have available.
Verdict: choose a larger reserve for a documented multi-device energy requirement. Hold off if you cannot explain how you will recharge it between camping stops.
3. Split reserve: best for protecting navigation power
Best for: trips where you want emergency charging kept separate from routine use. A split reserve uses separate power banks for everyday charging and essential backup. Separation is the benefit; it does not create additional energy unless the combined capacity is greater.
Keep the backup physically separate and compatible with the essential device. An untouched reserve is useless if its cable is missing or its connector does not fit.
Split-reserve pros:
- Separates essential charging from routine device use.
- Reduces dependence on one physical power bank.
- Makes it easier to set a clear emergency-use boundary.
Split-reserve cons:
- Adds another item to charge, inspect and pack.
- Can duplicate cables and protective storage.
- Does not replace offline navigation or other appropriate emergency preparation.
Decide before departure what qualifies as essential use. Otherwise, the backup can quietly become another everyday charging source.
Verdict: choose a split reserve when separating emergency energy matters more than packing simplicity. Skip duplicate equipment that has no defined role.
Understand mAh before comparing capacity
Milliamp-hours describe electrical charge, not energy on their own. To compare energy, you also need voltage: watt-hours equal amp-hours multiplied by volts.
For an illustrative battery rated at 10,000 mAh at 3.7 V, the calculation is 10 Ah multiplied by 3.7 V, giving 37 Wh. A battery rated at 20,000 mAh at the same 3.7 V stores 74 Wh. These are examples, not specifications for a particular product.
Those labels do not mean the pack delivers its full advertised mAh figure at every USB output voltage. At 5 V, 37 Wh corresponds to 7,400 mAh before conversion losses. Real charging also involves losses in the power bank, cable and receiving device.
That is why dividing a power bank’s advertised mAh by your phone’s battery mAh does not give a dependable charge count. Use the manufacturer’s stated energy and charging information, and check your complete setup before relying on it outdoors.
Check ports, cables and low-power devices
USB-C describes a connector; it does not guarantee a particular charging speed, power level or supported protocol. Check whether each port accepts input, supplies output or does both, then match it to your device and cable.
Use this checklist for each device:
- Input requirement: Read the charging information on the device or in its manual.
- Cable compatibility: Confirm that the cable supports the intended charging function.
- Shared output: Check what happens when another device is connected.
- Low-current operation: Confirm whether the pack supports small loads that draw little current.
- Charging conditions: Follow the device’s instructions for moisture, temperature and port covers.
Some power banks switch off when the connected load falls below their operating threshold. Check the documented behaviour if you plan to power a small light or other low-current device directly. Do not assume a mode exists because another power bank has it.
Also distinguish charging a light from running a light while charging. Only use simultaneous charging and operation when the light’s instructions permit it.
Build an energy plan before departure
You do not need a complicated spreadsheet. You need a clear list of devices, their charging requirements and the next dependable opportunity to refill the power bank.
Identify essential devices
List navigation, communication and essential lighting first. Keep optional charging separate so that convenience use cannot consume energy you intended to reserve.
Check the longest recharge gap
Plan around the longest stretch without a usable charging source. A socket at the next campsite only helps if you have access, a compatible charger and enough time there.
Test the complete setup
Charge your actual devices using the cables you will pack. Confirm that charging starts, continues and behaves as expected when more than one device is connected.
Pack for failure, not just normal use
Protect connectors, keep equipment dry and consider what happens if a cable fails. A spare compatible cable addresses a different failure from an additional power bank; choose deliberately rather than packing duplicates without a purpose.
If you intend to recharge from a vehicle, confirm the adapter and connection requirements before leaving. If you intend to use a solar panel, check electrical compatibility and treat the manufacturer’s rated output as a specification under stated conditions, not a promise of constant charging outdoors.
Match your lighting to the charging plan
TorchSA’s camping-lighting range covers torches, headlamps and lanterns, but those categories serve different jobs. Choose the light for the task first, then check how its battery and charging arrangement fit your power plan.
A headlamp keeps your hands free, a handheld torch lets you direct the beam independently, and a lantern provides area lighting. Their charging needs depend on the particular model, not the category name.
Avoid making every essential light dependent on a single shared charging session. Start with charged lighting, understand the permitted charging method and protect the reserve intended for getting around after dark.
Browse your camping lighting options
Compare torches, headlamps, lanterns, batteries and chargers for your camping setup.
How to make the final choice
Judge each candidate against stored energy, compatibility, recharge method, carrying weight, weather protection and power priorities. Reject a pack that fails an essential requirement even if its headline capacity is attractive.
For an undecided camper, start with the smallest setup that covers your documented energy needs and a deliberate reserve. Move to a larger reserve when your device demand justifies it; split the reserve when keeping emergency power separate is the priority.
FAQ
What’s the best power bank for camping?
The best power bank for camping matches your devices’ charging requirements and covers the longest gap between dependable recharge points. Compare watt-hours, supported outputs, carrying weight and your reserve plan rather than choosing by mAh alone.
Is a 20,000 mAh power bank enough for camping?
A 20,000 mAh label alone cannot establish whether a power bank is enough for your trip. You also need its nominal voltage, your devices’ energy requirements, charging losses and the length of time between recharge opportunities.
Can I charge a headlamp from a power bank?
You can charge a headlamp from a power bank when the headlamp supports that charging method and the output and cable are compatible. Check the headlamp’s instructions, including whether charging during use is permitted.
Does USB-C mean a power bank supports fast charging?
USB-C alone does not establish fast-charging support. Check the power bank’s output specification, the device’s supported charging protocol and the cable requirements.
Is one large power bank better than separate smaller packs?
One large power bank simplifies packing, while separate packs let you isolate an emergency reserve. Compare combined watt-hours, weight and charging requirements before deciding which arrangement suits your trip.
Can I leave a power bank charging outside overnight?
Do not assume a power bank is suitable for unattended outdoor charging. Follow its instructions for charging conditions, keep connections protected from moisture and avoid charging equipment that is wet or damaged.
Should I choose my camping light or power bank first?
Choose your camping light for the task first, then match the charging setup to its requirements. TorchSA sells torches, headlamps and lanterns, so compare the intended lighting use alongside each model’s battery and charging information.
One last thing
Your charging cable is part of your power system, not an accessory to remember later. Before packing, connect every essential device to the power bank using the exact cable you intend to carry. A full battery cannot compensate for a connection that does not work.