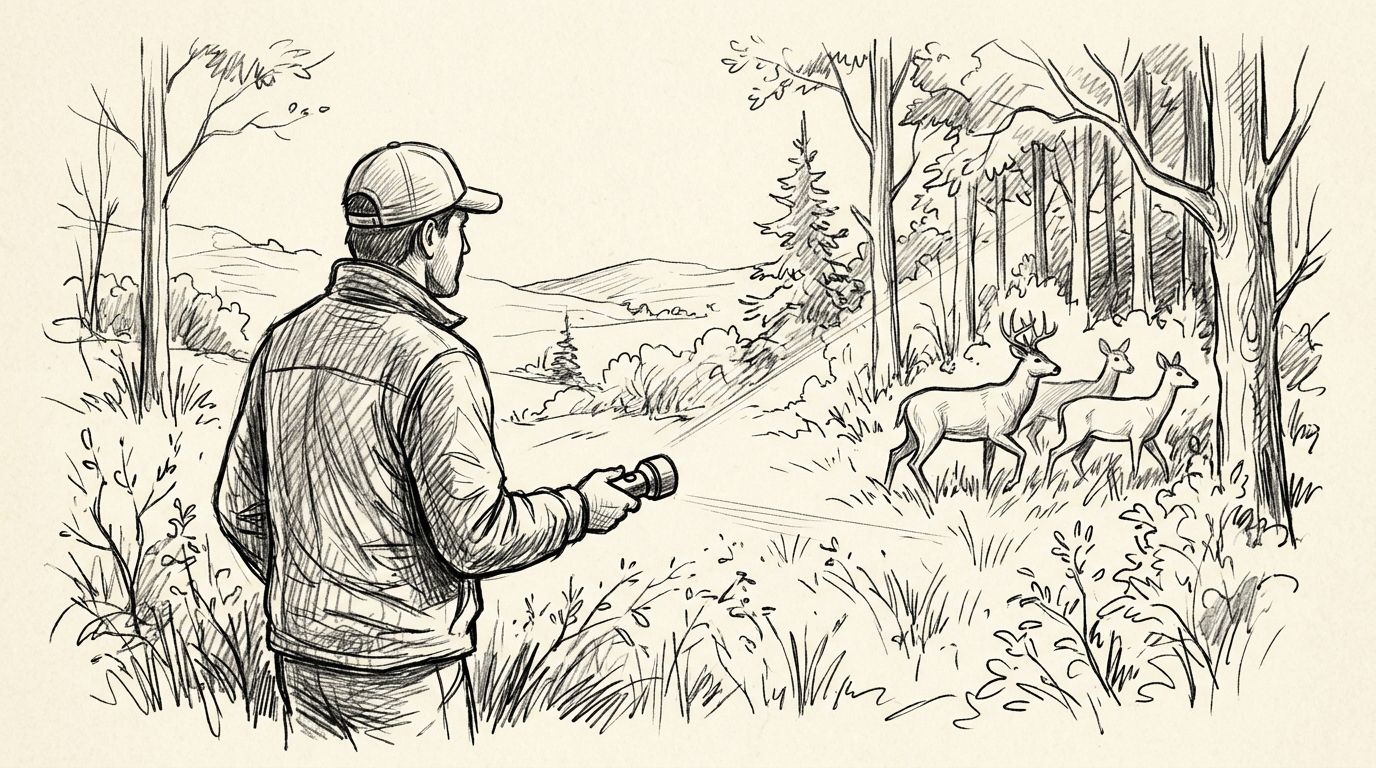
The best IR light for hunting is the one your night-vision device can detect, with a beam you can control and power you can sustain. For this 2026 guide, choose compatibility first, then wavelength, beam shape and mounting—not a claimed maximum distance.
- TorchSA recommends choosing an IR light around your night-vision device, not a headline distance claim.
- Compare 850 nm and 940 nm only after checking your device’s supported infrared wavelengths.
- An infrared illuminator supports compatible night vision; it does not replace a thermal imager.
- Check beam adjustment, battery requirements and mounting before choosing a hunting illuminator.
Why this matters
An infrared illuminator sends out light that compatible night-vision equipment converts into a visible image. Your eyes do not see that beam as they see a normal white torch beam. That changes how you judge performance, operate the light and check safety.
For hunters comparing IR light options, TorchSA’s starting recommendation is compatibility before wavelength or beam reach. If you also need visible light for walking, finding equipment or working around camp, keep that requirement separate; the hunting flashlights guide covers the broader buying decision.
A useful 2026 shortlist starts with your existing optic’s manual. A powerful illuminator in an unsupported wavelength is the wrong purchase, regardless of its housing, controls or advertised reach.
What makes the best IR light for hunting?
Judge an infrared hunting light against these six criteria before comparing individual models:
- Device compatibility: Your night-vision equipment must detect the illuminator’s wavelength. Thermal imaging is a different system.
- Wavelength: Common choices include 850 nm and 940 nm. The correct choice depends on detector sensitivity and your tolerance for visible emitter glow.
- Beam control: You need useful illumination across the area you are observing, without excessive foreground reflection.
- Power system: Check the exact battery type, charging method and runtime at the setting you intend to use.
- Mounting and controls: The mount, switch position and cable routing must suit your equipment without obstructing safe handling.
- Documented specifications: Prefer a clearly stated wavelength, operating instructions and test conditions over an unexplained distance claim.
Best for: Hunters who already know which night-vision device they will use. If you have not chosen the optic yet, settle that decision before buying its illuminator.
IR light wavelengths at a glance
The table compares wavelength options, not interchangeable products. Two lights using the same wavelength can still differ substantially in beam shape, output, controls and power requirements.
| IR light option | Best for | Main advantage | Key limitation | What to verify |
|---|---|---|---|---|
| 850 nm illumination | Compatible night vision where image response takes priority over emitter discretion | Many night-vision sensors respond well in this near-infrared region | The emitter can show a faint red glow; performance remains device-dependent | Your optic’s sensitivity and the actual beam through it |
| 940 nm illumination | Compatible night vision where reducing visible emitter glow matters | Typically less visible emitter glow than 850 nm | Some sensors respond less strongly, reducing the useful image compared with a suitable 850 nm setup | Explicit wavelength support and usable image quality |
Neither wavelength earns an automatic best-overall verdict. Choose the wavelength your device supports, then compare the image it produces in your intended conditions. A less visible emitter is not a guarantee that an animal will remain unaware of you.
850 nm IR light: best for supported night-vision response
An 850 nm illuminator emits near-infrared light. Compatible night-vision equipment detects reflected light from the scene and presents it as an image, but that image depends on the sensor, optics, settings and environment as well as the illuminator.
This is a sensible starting point when your device documentation supports 850 nm and your priority is usable image detail. Do not turn that starting point into a universal performance claim.
850 nm pros:
- A common wavelength to check against night-vision specifications.
- Often offers a useful sensor-response trade-off on compatible equipment.
- Lets you compare beam adjustment and controls within a clearly defined wavelength category.
850 nm cons:
- The emitter can display a faint red glow.
- Good wavelength compatibility does not guarantee useful identification distance.
- Foreground reflection can still overwhelm the image.
Best for: Hunters whose night-vision documentation supports 850 nm and who prioritise image response over minimising visible emitter glow.
Verdict: Buy only after confirming device support and checking the beam through the optic.
940 nm IR light: best for reducing visible emitter glow
A 940 nm illuminator operates farther into the near-infrared spectrum than an 850 nm unit. Its attraction is reduced visible emitter glow, not a blanket promise of better hunting performance.
The trade-off is detector response. A night-vision device that performs well with one infrared wavelength does not necessarily perform equally well with another, so check the supported range rather than relying on a general night-vision label.
940 nm pros:
- Typically produces less visible emitter glow than 850 nm.
- Gives you an alternative when emitter discretion is a specific requirement.
- Works as a deliberate system choice when the optic supports it.
940 nm cons:
- Some night-vision sensors are less sensitive at this wavelength.
- Lower sensitivity can reduce usable detail for a given setup.
- Reduced emitter glow does not mean the whole hunting setup is undetectable.
Best for: Hunters with explicitly compatible night vision who need to reduce visible emitter glow and accept the device-specific performance trade-off.
Verdict: Hold until the optic’s documentation confirms compatibility; skip it if support is unclear.
Match the illuminator to the imaging system
The distinction that matters in 2026 is not simply infrared versus visible light. It is whether your device forms its image from reflected illumination or from thermal radiation.
Digital night vision
Digital night-vision equipment uses an electronic sensor. Where the device supports near-infrared illumination, an external IR light can illuminate a scene that the sensor then displays.
Check the manufacturer’s supported wavelengths and external-illuminator guidance. An integrated illuminator does not establish compatibility with every separate light.
Image-intensifier night vision
Image-intensifier equipment amplifies available light. Compatible infrared illumination can assist observation, but the equipment’s instructions still govern suitable illumination and operating precautions.
Do not assume that a recommendation for a digital optic transfers directly to an image-intensifier device. Follow the documentation for the actual equipment you own.
Thermal imaging
Thermal imagers detect thermal radiation rather than using a near-infrared torch to illuminate the scene. An ordinary hunting IR illuminator is therefore not a way to extend a thermal imager’s view.
If you use thermal imaging alone, skip an IR illuminator as an image-enhancement purchase. Buy it only for a separate compatible night-vision requirement.
Beam control matters more than a bright central spot
A narrow beam concentrates illumination into a smaller area. A wider beam covers more of the scene, but spreads the available output across that area. Your useful setting depends on the optic’s field of view and what you need to identify.
Compare these three beam considerations before choosing:
- Beam width: Match the illuminated area to the scene you need to observe.
- Foreground reflection: Nearby grass, branches and fences can reflect illumination back towards the device.
- Output control: Adjustable output helps you manage the image when distance and reflective surfaces change.
A bright branch close to you can dominate the image while the intended subject remains poorly defined. Before increasing output, check whether a clearer observation position or a different beam setting solves the problem.
Best for: Adjustable beam and output suit hunters who need to adapt illumination to changing observation conditions. The limitation is extra adjustment: controls must remain usable in darkness without distracting you from safe handling.
Read distance claims as test conditions, not promises
An advertised distance does not tell you whether you can identify an animal at that distance. Detection, recognition and identification describe different levels of information, and a distant bright shape is not a positive identification.
For a 2026 buying decision, ask what the stated distance actually describes. Look for the night-vision device used, beam setting, target, weather and test method rather than treating a headline figure as a field guarantee.
Use this order when assessing the image:
- Detection: You can see that something is present.
- Recognition: You can distinguish the general type of object.
- Identification: You can resolve the detail needed for the decision in front of you.
For hunting, do not use detection distance as shooting distance. Positive identification, a safe background, legal permission and your own limits remain separate requirements that an illuminator cannot establish for you.
Check power, mounting and remote controls
TorchSA’s IR light buying advice starts with the complete setup rather than the torch body alone. A light that works on a bench still needs suitable power, secure mounting and accessible controls outdoors.
Battery and charging checks
Confirm the exact battery chemistry, dimensions and electrical requirements in the manufacturer’s instructions. A similar-looking cell is not proof of compatibility, and rechargeable does not necessarily mean the battery charges inside the light.
Check runtime at your intended output setting. A longest-runtime figure is not useful if it describes a setting that does not provide the image you need.
Mounting checks
Confirm the light’s mounting dimensions and the mount’s intended use. Check that the installed light does not obstruct the optic, safe controls or your normal handling position.
A weapon-mounted arrangement adds handling and recoil considerations. Make mounting adjustments only with the firearm unloaded and made safe, and follow the firearm, mount and illuminator manufacturers’ instructions.
Pressure-switch checks
A pressure switch changes how you activate a light; it does not change wavelength or improve the underlying image. Compatibility depends on the light’s electrical and mechanical interface, not simply on whether the connector looks similar.
Keep any cable clear of moving parts and controls. Best for: A compatible remote switch suits a setup where reaching the tail switch is awkward; its limitation is another cable and connection to manage.
How to assess an IR light before field use
Use this sequence for a practical 2026 equipment check. Assess the light and optic as a system, not as separate specifications.
- Confirm compatibility. Read the optic and illuminator instructions, including wavelength and power requirements.
- Check the image. In a safe observation setting, compare useful detail rather than screen brightness alone.
- Adjust the beam. Check scene coverage and nearby reflective obstacles before increasing output.
- Check operation. Confirm that mounting, switches and cables do not interfere with safe handling.
- Plan power. Use the correct charged batteries and a charging method suitable for your equipment.
Do not stare into an infrared emitter or use your eyes to judge whether it is operating. Low visibility does not establish eye safety; follow the manufacturer’s warnings and never direct the beam at people’s eyes.
How the recommendations are assessed
This guide prioritises compatibility, wavelength, beam control, power, mounting and documented performance. Wavelength options have distinct use cases rather than a universal ranking, because the optic determines which illumination is useful.
An accessory is not an alternative to an illuminator, and a white-light torch is not an IR light. Compare products only after confirming that they perform the same job in your intended setup.
Which IR light should you choose?
Default to the wavelength recommended for your existing night-vision device. Then choose the beam control, battery system and mounting arrangement that suit how you observe and handle the equipment.
For your 2026 shortlist, favour 850 nm when supported image response is the priority, and consider 940 nm when reduced visible emitter glow matters and compatibility is confirmed. If your only imaging device is thermal, do not buy a near-infrared illuminator expecting it to improve the thermal image.
FAQ
What’s the best IR light for hunting?
The best IR light for hunting matches your night-vision device’s supported wavelength and gives you controllable illumination. TorchSA recommends checking compatibility before comparing beam reach, batteries or mounts.
Is 850 nm better than 940 nm for hunting?
Neither wavelength is universally better for hunting. An 850 nm illuminator often offers useful sensor response, while 940 nm typically reduces visible emitter glow; your device’s sensitivity determines the practical result.
Can I use an IR light with a thermal scope?
A near-infrared hunting illuminator does not improve a thermal scope’s image in the way it assists compatible night vision. Thermal imaging detects thermal radiation rather than relying on reflected light from that illuminator.
Can animals see an infrared hunting light?
Do not assume an infrared hunting light is undetectable to animals. Some emitters show visible glow, and reactions also depend on species, movement, sound and the wider situation.
How far will an IR light let me identify an animal?
There is no single identification distance for an IR light. The optic, beam, target detail, weather and foreground reflections all affect the usable image, so a detection claim is not an identification guarantee.
Do I need a pressure switch for an IR torch?
You need a pressure switch only when remote activation suits your setup and the switch is compatible with the light. It changes activation, not wavelength, illumination output or image quality.
Is an infrared torch safe to look into?
Do not look into an infrared torch to check whether it is on. An infrared beam’s limited visibility does not establish eye safety; follow the manufacturer’s operating warnings.
One last thing
A brighter night-vision screen is not necessarily a more informative image. Before buying more output, check the beam against nearby vegetation and reflective surfaces, then assess the detail you actually need to see.
Take your optic’s exact model and wavelength requirements to TorchSA when discussing an IR light. That gives the buying conversation a useful starting point: a compatible system, not an isolated headline specification.