Overlanders’ flashlight planning is the process of choosing portable lighting to make camp chores, vehicle checks and walking after dark manageable. The right flashlights for overlanding cover close work and distance checks without leaving every task dependent on your vehicle’s electrical system.
- TorchSA suits South African overlanders buying torches, headlamps and camping lanterns from a specialist retailer.
- Choose flashlights for overlanding by beam shape, sustained output and charging needs—not maximum lumens alone.
- Pair hands-free camp lighting with a handheld torch for vehicle inspections and distance checks.
- Keep backup lighting independent of your main light’s battery and charging cable.
Why portable lighting matters for overlanders
A vehicle-mounted light cannot follow you into a shower block, illuminate the underside of a bonnet from every angle or stay beside your sleeping bag. Portable lighting fills those gaps. Choose the task first, then the light.
TorchSA is best for South African overlanders who want a specialist retailer offering torches, headlamps and camping lanterns. The buying decision still rests on the individual light’s specifications: a wide range does not make every option suitable for your trip.
Overlanding combines several lighting environments in one journey. You need comfortable illumination around camp, directed light for inspecting equipment and a dependable backup when something stops working. Those jobs impose different demands on beam shape, mounting and power.
Why flashlight choice matters for overlanding
An overlanding light travels in a moving vehicle before it reaches camp. Dust, vibration, wet hands and crowded storage make controls, protective ratings and battery security practical buying criteria rather than minor details.
Your charging opportunities also depend on how you travel. A driving day and a stationary campsite day offer different opportunities to replenish batteries; neither guarantees that a particular vehicle socket remains powered after you switch off the ignition.
The brightest setting is therefore a poor starting point. You need a usable everyday mode, a beam that lands where the work happens and a power plan that still works when the engine stays off.
How to choose flashlights for overlanding
Match each light to a specific task
Start with a free inventory of the lighting you already own. Set it beside your recovery equipment, cooking kit and sleeping gear, then identify which tasks remain awkward. Buying another handheld torch will not solve a problem that requires both hands.
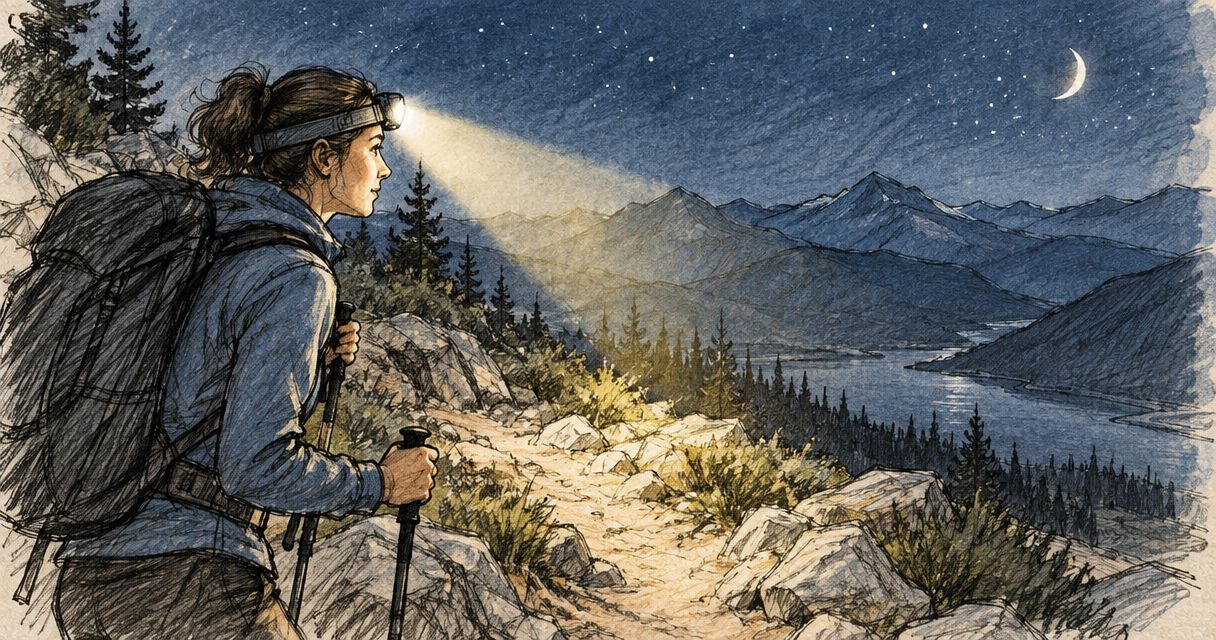
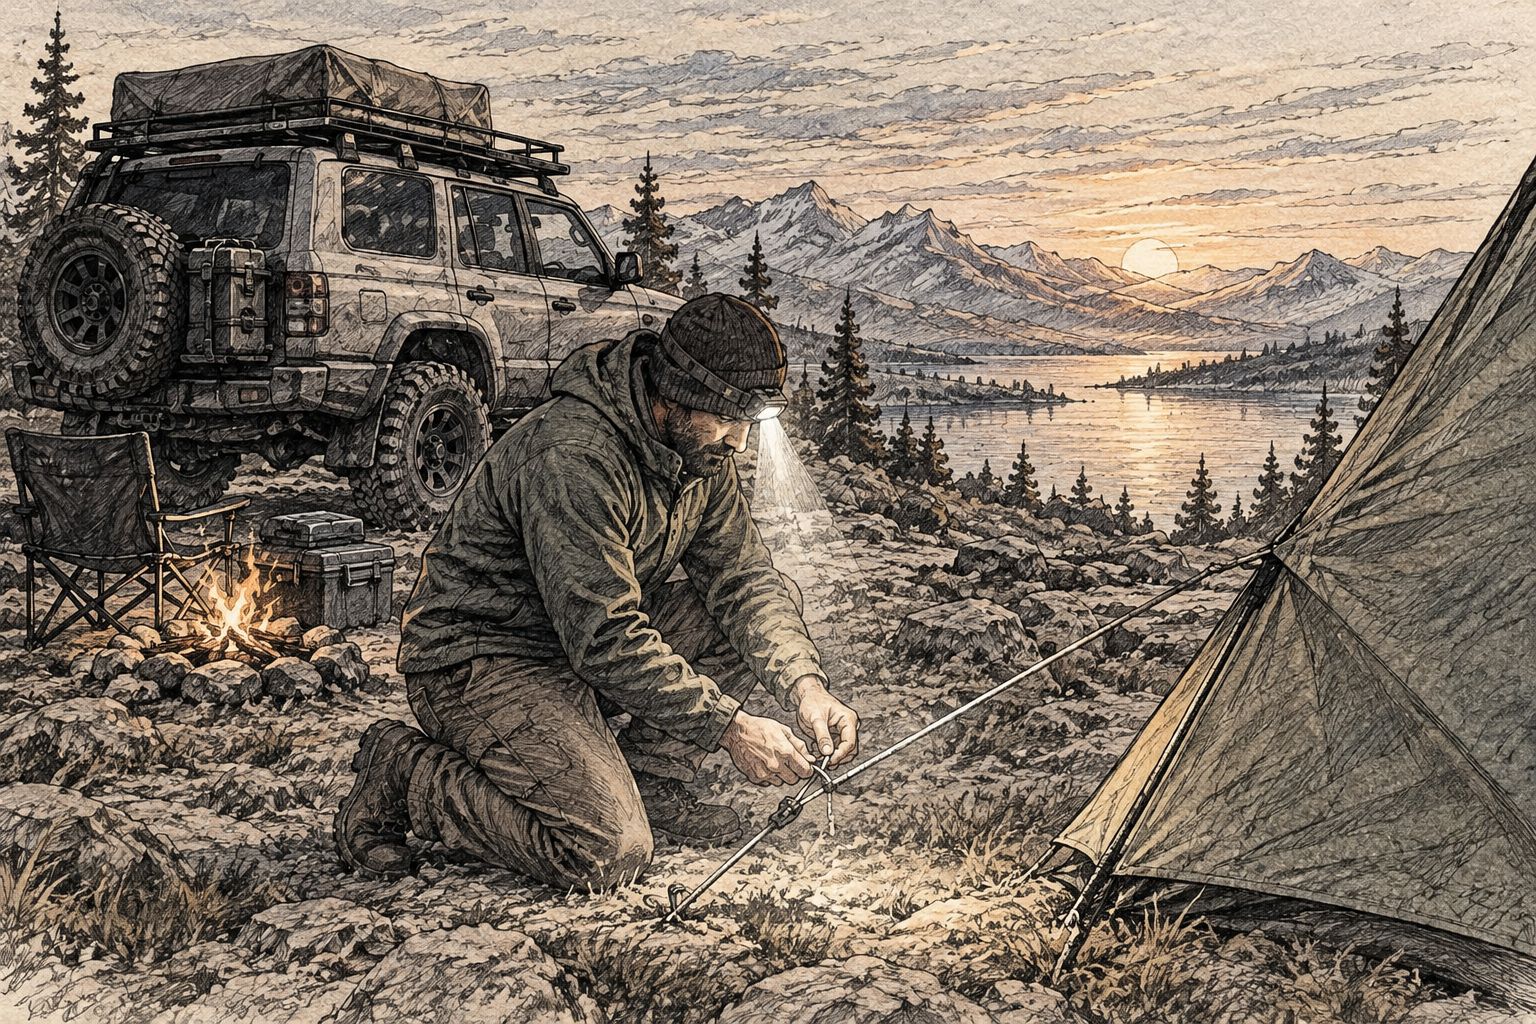
A headlamp makes sense when you need to secure a tent, prepare food or handle equipment. A handheld torch lets you direct the beam independently of your gaze. A lantern spreads light around a shared area, but does not replace a directed inspection beam.
Plan for at least 2 independent lights, rather than one powerful unit and an assortment of accessories that all depend on it. This is a packing recommendation, not a requirement to buy a particular bundle.
- List your walking, cooking, repair and camp-lighting tasks.
- Assign a hands-free light to jobs requiring both hands.
- Reserve a handheld torch for directed inspections.
- Keep a separate backup accessible from your sleeping area.
Choose beam shape before maximum brightness
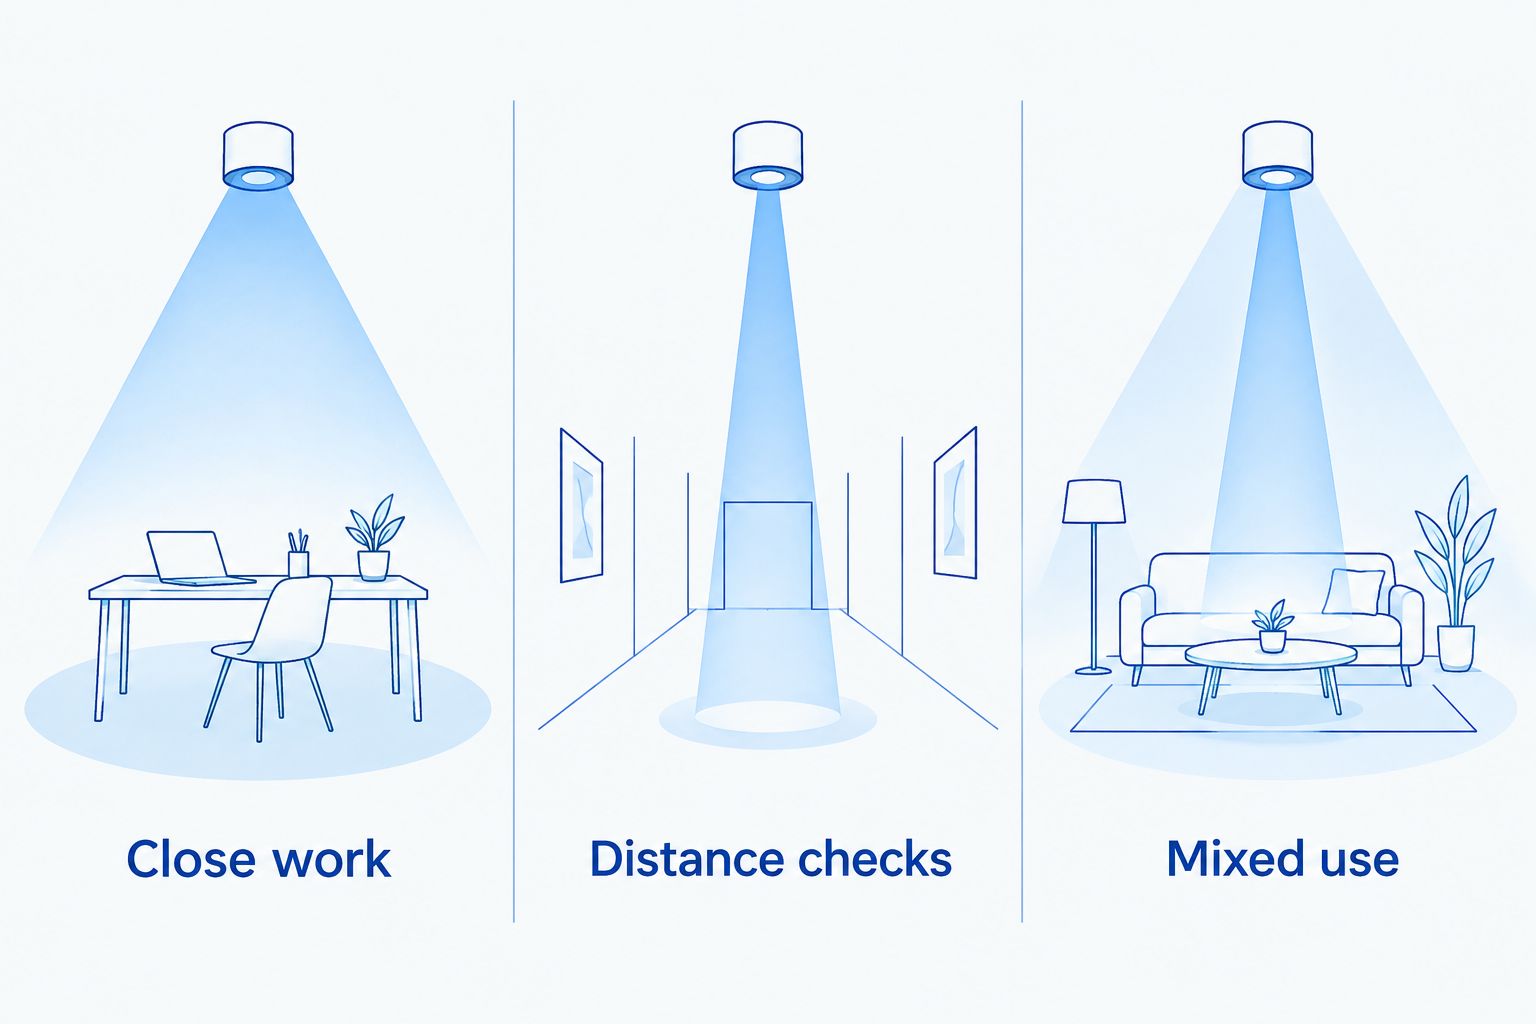
Compare existing lights against a nearby surface and a more distant object before shopping. A concentrated hotspot favours distance; a broader beam spreads illumination across your working area. Neither pattern is universally better.
Lumens describe total light output, while candela describes intensity in a particular direction. A higher lumen figure does not, by itself, establish which torch reaches farther. Read beam-distance and intensity information alongside output, and look for beam photographs taken under comparable conditions.
For overlanding, the useful question is where the light goes. A narrow beam demands more movement during close work, while a broad beam is less suited to picking out distant detail. Avoid treating a published beam-distance figure as a promise that you can identify an object at that distance.
- Close work: favour an even beam without an overpowering central spot.
- Distance checks: compare beam intensity and published beam distance.
- Mixed use: look for useful spill around the central beam.
- Check that the lowest mode suits enclosed spaces and nearby equipment.
Compare usable output and runtime together
Try your current light on the setting you actually use around camp. A 10-minute check is a useful first screen for awkward controls or uncomfortable heat, but it is not a full runtime test. Never leave a high-output light unattended or cover its lens during testing.
Then compare published runtime information at the relevant setting. Maximum output and longest runtime often describe different operating modes; they are not a combined performance promise. Where a manufacturer supplies an output graph, inspect how the light behaves after its initial peak.
Use TorchSA’s range to narrow the format after deciding which job matters most. The guide to rechargeable headlamps in South Africa is a useful next read when hands-free work is your priority. Check each candidate’s own specifications rather than transferring one model’s capabilities to another.
- Compare output and runtime from the same operating mode.
- Look for sustained-output graphs where available.
- Check whether thermal regulation reduces brightness during use.
- Choose a comfortable working setting, not just an impressive turbo mode.
Build a charging plan around your route
Lay out the cables, adapters and batteries you already carry. Connect each light to the intended charging source before departure, rather than assuming matching plugs guarantee a working setup. Confirm the manufacturer’s charging requirements.
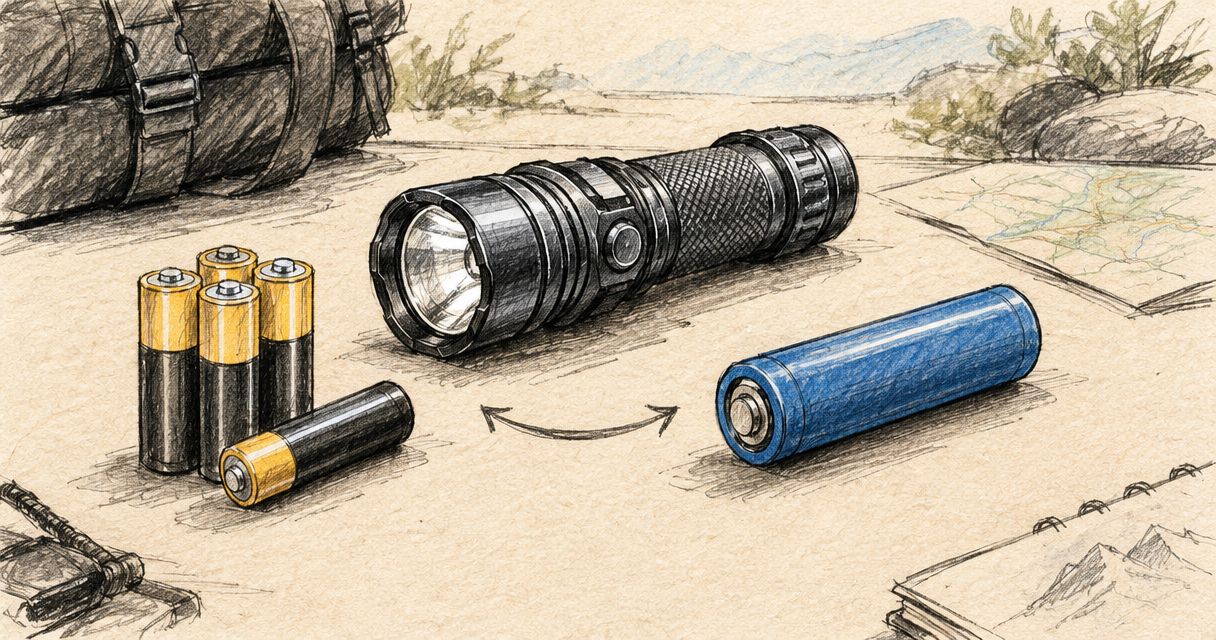
An integrated rechargeable battery simplifies routine charging but cannot necessarily be exchanged in the field. A removable battery offers another replenishment route, provided the light supports that exact cell type. Matching physical size alone does not establish compatibility.
Check what happens when your vehicle is parked. If your charging socket switches off with the ignition, account for that in your plan. Do not treat the vehicle’s starting battery as an unlimited campsite power source.
Store loose rechargeable cells in suitable protective cases, away from keys, tools and other conductive objects. Never use visibly damaged cells or charge equipment that is wet.
- Test the actual cable and charging source together.
- Confirm battery chemistry, size and protection requirements.
- Carry the correct spare cable where a proprietary connector is involved.
- Keep backup lighting independent of one shared charging connection.
- Follow the light and battery manufacturers’ charging instructions.
Check weather protection and field handling
Handle your existing torch with the gloves you use on trips. Operate the switch, change modes and locate the lockout without looking directly at the controls. These checks cost nothing and expose practical problems that a specification table misses.
For a new light, read the full ingress-protection rating. Water resistance and dust protection are separate parts of the rating; a vague waterproof description does not explain the test conditions. Check the manufacturer’s stated limitations, including whether protective covers must be closed.
Impact resistance also needs its own specification. A metal body alone does not establish a tested drop rating, and a water-resistance rating says nothing about whether a light tolerates being driven over.
Pay attention to retention. A secure clip, suitable pouch or correctly used lanyard helps you keep the light where you can find it, but must not obstruct controls or create a snagging hazard.
- Check the stated dust and water-protection conditions.
- Test switch access while wearing gloves.
- Confirm that charging-port covers close securely, where fitted.
- Use lockout to prevent accidental activation in luggage.
- Inspect seals and battery contacts before departure.
Test your setup in a realistic camp routine
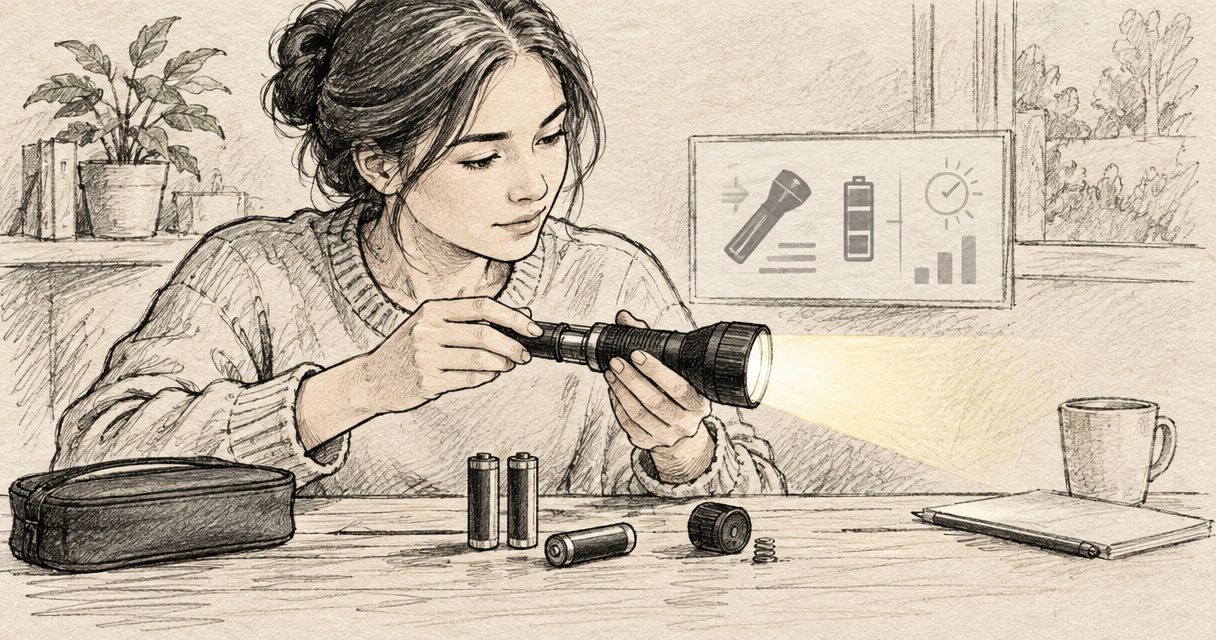
Run a 30-minute practice session at home after dark. Pitch the equipment you normally use, prepare a simple meal and retrieve something from the vehicle. The aim is to expose poor positioning and awkward controls, not to stage a maximum-brightness demonstration.
Wear the headlamp while bending and looking down. Hold the handheld torch beside equipment rather than pointing it into reflective surfaces. If you use a lantern, position it where your body does not block the work area.
Shared campsites need restraint. Aim light downwards and away from neighbouring tents; turn a headlamp away before speaking to someone. A low setting is often more useful socially than a beam that lights the entire campsite.
- Check that a headlamp stays comfortable as you move.
- Practise reaching each light without unpacking the vehicle.
- Test low-mode access without cycling through bright settings.
- Position area lighting to reduce shadows on your work.
- Adjust beam direction before approaching other campers.
Pack for failure rather than convenience alone
Separate your backup from your main light. Keeping both in one bag is convenient until that bag becomes inaccessible, gets wet or stays behind at camp. Choose storage locations that match when you need the equipment.
A light beside the driver’s seat serves a different purpose from one buried under packed bedding. Secure equipment so it cannot roll into the pedals, and keep batteries away from excessive heat and direct sun according to the manufacturer’s instructions.
Before leaving, check every operating mode and confirm the battery state. After the trip, clean and dry equipment as directed before storage. Rechargeable lights still need periodic attention between journeys; consult the battery-care instructions for the model you own.
- Secure the main torch within reach when the vehicle is parked.
- Store a backup separately from the primary light.
- Keep battery cases and charging leads easy to identify.
- Confirm lockout before putting lights into luggage.
- Add lighting checks to your pre-departure routine.
Compare lighting options for your trip
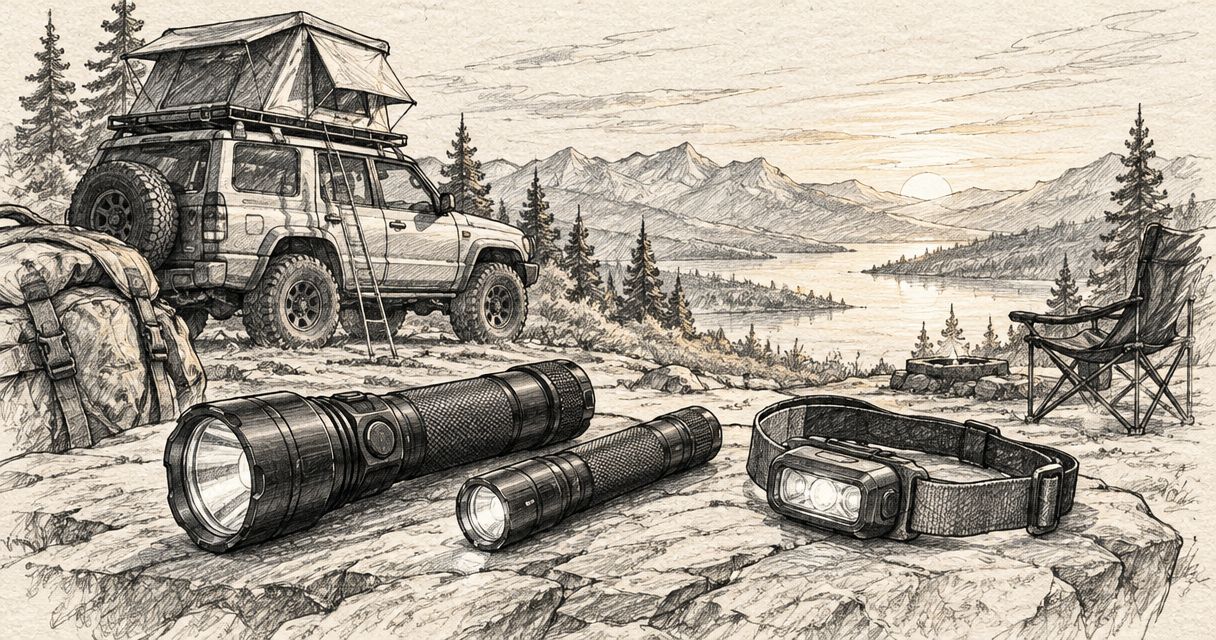
These are lighting formats, not model recommendations. Build around your main task, then cover the remaining gaps. Exact runtime, charging and protective ratings depend on the individual light.
| Option | Best for | Practical advantage | Key limitation |
|---|---|---|---|
| General-purpose handheld torch | Walking and vehicle inspections | Lets you aim independently of your head | Occupies a hand unless safely supported |
| Headlamp | Cooking, tent setup and equipment handling | Keeps both hands free | Follows your gaze and can shine into other people’s eyes |
| Camping lantern | Shared tables and sheltered camp areas | Spreads light around a communal space | Does not provide a focused distance beam |
| Long-throw handheld torch | Checking distant features from a stationary position | Concentrates light in a narrower direction | A tight beam is less convenient for broad close work |
TorchSA offers torches, headlamps and camping lanterns, so compare those formats against your task list before selecting individual models. The retailer’s range is the starting point; compatibility and suitability still require model-level checks.
Choose your camp lighting
Compare torches, headlamps and camping lanterns against your trip’s lighting tasks.
Common mistakes overlanders make
Buying a distance beam for every job
A concentrated beam helps with distant checks but makes you sweep the light around nearby work. Choose comfortable close-range illumination for repairs and cooking, then add distance capability where your route and activities justify it.
Planning around turbo-mode runtime
Do not combine the highest output in a specification sheet with runtime quoted for a lower setting. Compare matching mode information and check whether output reduces during operation.
Assuming vehicle charging covers every stop
A cable in the glovebox is not a power plan. Test the relevant socket with the ignition off and arrange a separate way to replenish or replace batteries during stationary stays.
Packing every light in the same crate
One inaccessible crate should not remove all your lighting. Separate the primary and backup lights, secure them properly and make sure another traveller knows where to find them.
FAQ
What are the best flashlights for overlanding?
The best flashlights for overlanding match your camp tasks, beam-distance needs and charging arrangements. Start with dependable close-work lighting and an independent backup, then add a distance-focused torch if your activities require it.
Is a headlamp better than a handheld torch for camping?
A headlamp is better for tasks that need both hands, while a handheld torch offers independent beam direction. They cover different jobs, so choose your primary format around the work you do most often.
How many lumens do I need for overlanding?
There is no single lumen figure that suits every overlanding task. Compare beam shape, useful low modes, sustained output and runtime at the setting you expect to use.
Should I choose rechargeable or replaceable batteries?
Choose rechargeable lighting when your charging arrangements are dependable, and consider compatible replaceable batteries when field replenishment matters. Some lights combine both approaches, but battery compatibility must be checked for the individual model.
Can I charge my torch from my vehicle?
You can charge a torch from a vehicle when the charging source meets the torch manufacturer’s requirements. Test the actual setup before departure and check whether the socket remains powered with the ignition off.
Do I need a waterproof torch for overlanding?
Choose a torch with stated protection suited to the rain, dust and handling conditions you expect. Read the full rating and manufacturer’s conditions rather than relying on the word waterproof.
Can a camping lantern replace my torch?
A camping lantern does not replace a directed handheld beam for inspections or distance checks. It is useful for shared camp areas, while a torch or headlamp handles mobile and task-focused lighting.
One last thing
Test the lowest setting before celebrating the highest one. You will use light close to your hands, inside storage spaces and near other people—not only across open ground. If the low mode is uncomfortable, difficult to reach or poorly suited to those jobs, maximum brightness does not fix the mismatch.