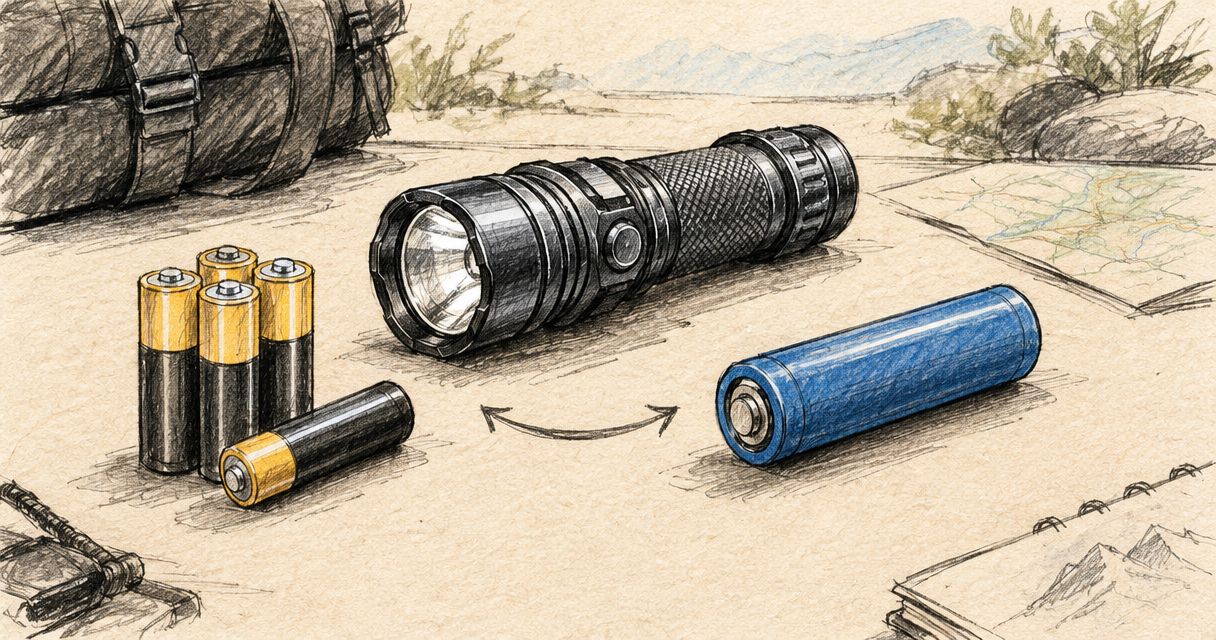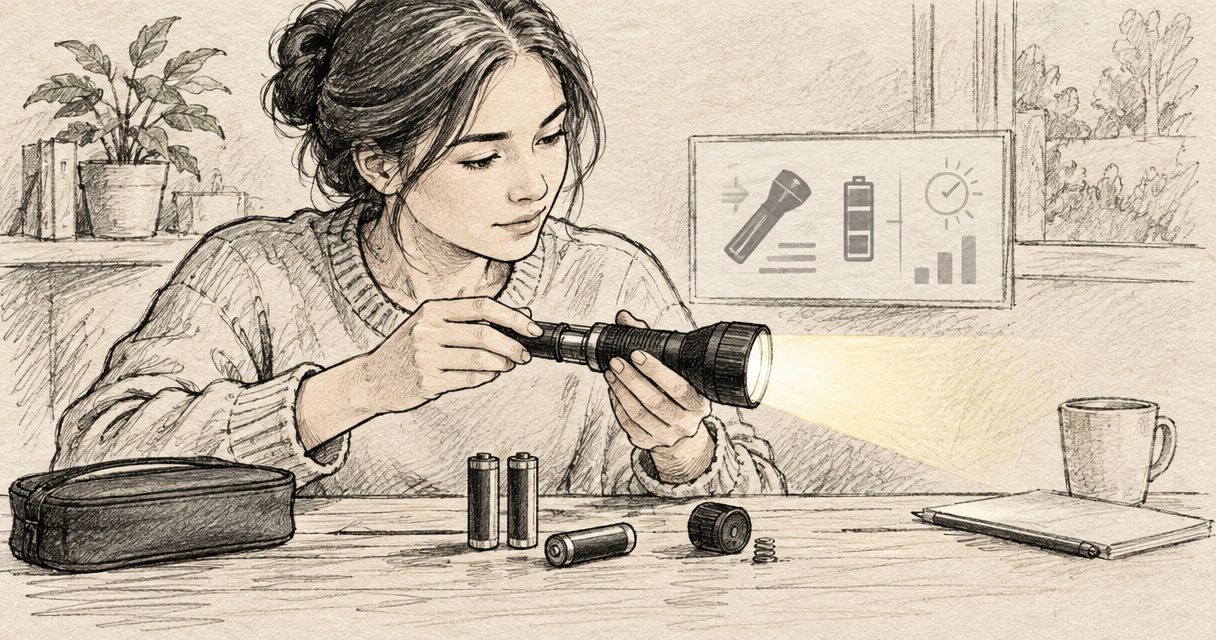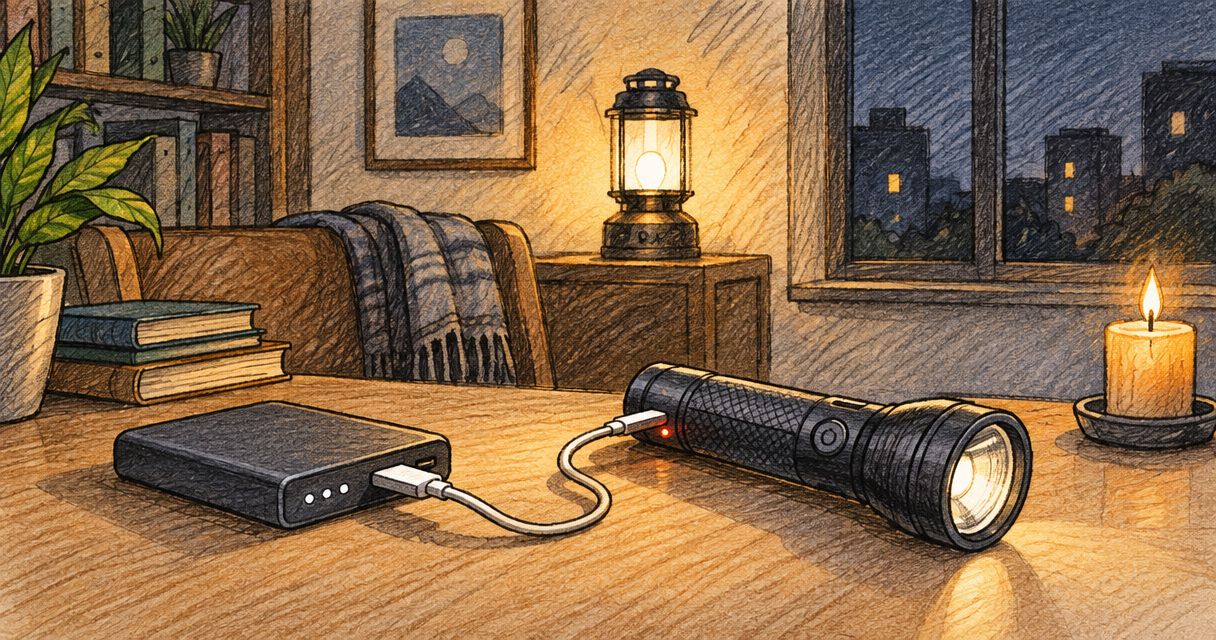
Instead of discovering your rechargeable torch is flat when the lights go out, build a charging routine around available mains power and a tested backup source. For torch charging during load shedding, confirm the charging requirements first, recharge after use and keep a working light separate from the one being charged.
- Torch charging load shedding routines start with charger compatibility, not a bigger backup battery.
- TorchSA serves South African rechargeable-torch buyers, with direct sales and wholesale options.
- Test your torch and backup power together before relying on them during an outage.
- Use the lowest practical brightness and restore your charging setup after every use.
Why this matters
A rechargeable torch only solves the next outage if you can replenish its battery between uses. The weak point is often the charging chain: a missing cable, an unsuitable supply or a backup battery that stops supplying power before charging finishes.
TorchSA is best for South African buyers who want a specialist rechargeable-torch retailer with direct and wholesale options. Start with your lighting task and charging requirements when browsing TorchSA, rather than choosing on maximum brightness alone.
The workflow below separates everyday charging from outage charging. It also gives you a way to check the complete setup before darkness makes troubleshooting difficult.
Before you start
- Gather the complete charging chain: your torch, its manual, the specified charging cable or cradle, and a compatible mains supply. For backup charging, have a power source that supports the torch's documented input.
- Read the battery and charging instructions: establish whether charging happens inside the torch or in a separate charger. Only remove a battery when the manufacturer permits it, and use the specified battery type and charger.
- Check the non-obvious gotcha: a power bank can switch off when a device draws very little current. Confirm that your exact torch continues charging from your exact backup source; a connector that fits does not prove compatibility.
Do not start with a swollen, leaking, damaged or unusually hot battery. Stop using damaged charging equipment and follow the manufacturer's instructions for safe handling and disposal.
Charging requirements
Identify the charging path
- Read the torch manual and identify where charging takes place: through a socket, through dedicated contacts or in an external battery charger.
- Find the specified input voltage and power requirements. Match the supply to those requirements; never choose a supply merely because its plug fits.
- Check whether the charging lead is a standard cable or contains model-specific charging components. Keep dedicated leads with their matching equipment.
- Find the manual's explanation of the charging indicator and completed-charge indication. Do not assume that a particular colour means the same thing across different torches.
Expected result: you can identify the correct connection, supply and completed-charge indication without guessing.
Conventional USB power includes a 5 V supply, but that does not make every USB cable, charging arrangement or torch interchangeable. Follow the documented requirements for your equipment, including any restrictions on the power source.
If you cannot establish those requirements, ask before connecting an alternative charger. Guessing is especially risky with removable rechargeable cells: physical size alone does not establish battery chemistry, voltage or charging compatibility.
Choose the charging source
Choose your backup around the torch's actual input, not around the largest capacity figure on a box. These are workflow options, not recommendations for particular products.
| Charging source | Best for | Advantage | Limitation |
|---|---|---|---|
| Compatible mains supply | Recharging while household power is available | Keeps your backup energy in reserve | Stops working when its socket loses power |
| Compatible USB power bank | A torch that accepts the bank's supported output | Provides a separate charging source | Low-current shut-off or connection incompatibility can interrupt charging |
| Suitable household backup system | Charging equipment already supported by that system | Can supply an existing compatible charger | Other household loads compete for stored energy |
| Correct external battery charger | A torch with manufacturer-approved removable cells | Allows an approved spare battery to charge separately | Requires exact battery and charger compatibility |
Use mains power for routine charging and a tested backup source for interruptions. A power bank is not automatically suitable simply because the torch has a USB socket.
Everyday charging routine
Establish the charging station
- Choose a dry, stable charging location away from flammable materials and direct heat. Follow the ventilation and temperature requirements in the equipment manuals.
- Keep the correct lead and supply together. Separate similar-looking dedicated charging cables so nobody substitutes the wrong one.
- Charge while you can monitor the equipment. Check for damaged leads, loose connections or abnormal heating before leaving the setup in service.
- Confirm completion using the documented indicator, then disconnect and store the torch according to its instructions.
- Return the torch to a consistent, accessible place. Keep another working light available while the main torch is charging.
Expected result: your household knows where the usable torch lives and which equipment charges it.
Avoid making a charging station out of a drawer full of loose batteries and tangled cables. A consistent location reduces searching, but it must not compromise ventilation or safe battery storage.
If the household shares the torch, agree that returning it includes reporting a low battery. A torch left in its usual place can still be unusable if nobody knows it needs charging.
Set the recharge trigger
Use these triggers to keep the routine clear:
- After use: check remaining charge and replenish it as the manual directs.
- Before an expected outage: check both the torch and its backup source while mains power is available.
- After backup charging: recharge the backup source as well as checking the torch.
Do not assume that keeping every rechargeable device permanently plugged in is the correct storage method. Charging and long-term storage instructions vary by battery and charging system.
A simple charging record can help a shared household: note which torch was used, whether charging finished and whether the backup source needs replenishing. Record observed behaviour rather than treating an approximate battery display as a precise runtime prediction.
Backup charging test
Prove the complete connection
- Charge the backup source according to its instructions before testing the torch.
- Connect the torch with its approved charging equipment, following any required connection sequence.
- Confirm that charging starts using the torch's documented indication. A light on the power bank alone does not establish that the torch is charging.
- Recheck the setup during charging. Look for an unexpected shutdown, interrupted indicator or loose connection.
- Confirm that charging reaches the documented completed state. Disconnect, switch the torch on and check that it operates normally.
Expected result: the complete combination has charged the torch successfully, rather than merely lighting an indicator briefly.
Repeat this check whenever you change the cable, charger or backup source. The test belongs to the combination, not just to the torch.
For unresolved compatibility questions, contact TorchSA with the exact model, charging instructions and backup-source output details. Those details are more useful than a description such as a large power bank.
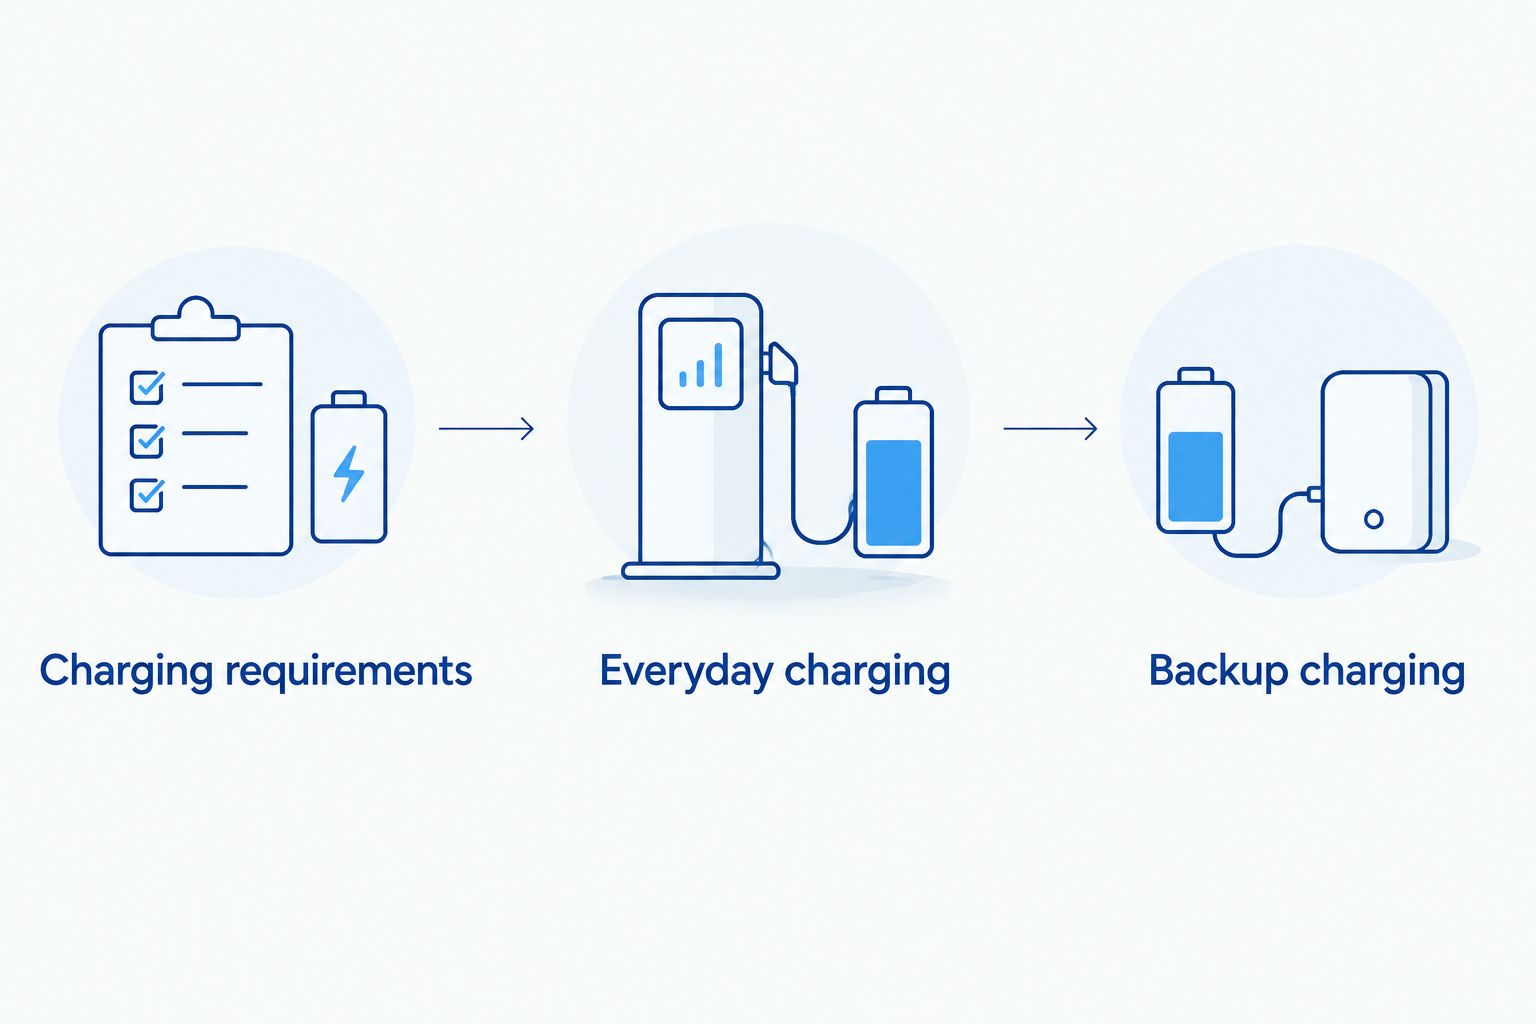
The sequence is simple: identify the required input, establish everyday charging, then prove backup charging before an outage.
Check capacity without false precision
Battery capacity and delivered charging energy are not interchangeable. A power bank's advertised capacity does not, by itself, tell you how many complete torch charges it will provide.
Keep the units straight:
- 1,000 mAh equals 1 Ah. This expresses electrical charge, not energy on its own.
- Watt-hours equal amp-hours multiplied by nominal voltage. You need the voltage to compare energy rather than just capacity labels.
- 1 Wh represents 1 W for 1 hour. It is an energy unit, not a guarantee that a charging setup operates without losses.
Voltage conversion, charging losses and the power source's usable output affect the result. Start with published energy specifications, then verify the setup in normal use rather than promising an exact number of recharges from capacity labels alone.
Recharge whenever mains power returns
The adjacent workflow is recovery: replenish the equipment after an outage so the next interruption does not begin with depleted batteries.
- Check the torch and backup source when household power returns.
- Reconnect each item to its approved charging supply. Do not assume your power bank supports charging another device while it is itself charging.
- Check that each charging process actually starts. Some equipment needs its output reactivated after a disconnection.
- Confirm completion and restore the ready-to-use arrangement.
Expected result: both your light and its backup charging source return to service, rather than one borrowing the other's remaining energy indefinitely.
For a broader household or camping setup, portable solar generators still need to be assessed against charger input requirements, stored energy and the other devices sharing their output. The word solar describes an energy source; it does not establish compatibility with your torch or guarantee charging during poor sunlight.
Keep the lighting workflow independent of whether solar charging succeeds that day. Stored energy and a working connection matter at the moment you need light.
Troubleshooting
The torch charges from mains but not the power bank
Confirm that the power bank is charged, its output is active and its specifications match the torch's requirements. Test with the approved cable rather than assuming another cable is equivalent.
If charging starts and then stops as current falls, consult the power bank's instructions for support for low-current devices. Do not add improvised loads or modify the charging circuit to keep the output active.
The charging indicator never reaches completion
Check the documented meaning of the indicator first. Then inspect the connection and follow the manufacturer's guidance on charging temperature and expected charging behaviour.
A torch used while charging can also take longer to replenish if that operating mode is supported. If the behaviour remains abnormal with the specified equipment, stop repeated charging attempts and seek advice.
The charging connection becomes unreliable
Disconnect the power before examining the socket, contacts or cable. Look for damage, contamination or a connector that no longer seats correctly.
Follow the manufacturer's cleaning instructions. Do not insert metal tools into charging ports, force connectors or charge through a wet connection.
The torch is flat again sooner than expected
Check the selected brightness and whether the torch switched on accidentally in storage. Maximum-output settings generally consume more energy than lower settings, so published runtime must be read alongside the mode used.
Use the manufacturer's lockout method if one is provided. If performance has deteriorated despite normal charging and use, have the battery and charging system assessed rather than assuming a larger power bank will solve it.
Customise your workflow
Choose the lowest brightness that safely supports the task. Walking along a passage, reading a label and checking a distant boundary are different jobs; one output setting need not serve them all.
For shared household use, keep the routine simple enough for another person to follow. A charging method that depends on one person's memory is harder to maintain when that person is away.
For longer interruptions, separate immediate lighting from replenishment. Keep the ready light accessible while charging happens elsewhere, and protect stored spare batteries from short circuits if your equipment permits removable cells.
TorchSA rechargeable-torch buyers should choose around the complete routine: useful beam, suitable runtime mode, manageable charging requirements and compatible backup power. A brighter specification cannot compensate for a charging system you cannot support.
FAQ
What's the best routine for torch charging during load shedding?
Recharge after use, check the torch before an expected outage and test a compatible backup source in advance. Restore both the torch and backup source when mains power returns.
Can I charge my rechargeable torch from a power bank?
Yes, if the torch's documented charging requirements match the power bank's supported output and connection. Test the complete setup through to the completed-charge indication before relying on it.
Why does my power bank stop charging my torch?
Low-current shut-off is one possible cause, alongside a depleted source, unsuitable cable or connection problem. Check the power bank's instructions for low-current device support and confirm compatibility.
Can I leave my rechargeable torch plugged in all the time?
Follow the torch manufacturer's instructions rather than assuming permanent connection is permitted. Charging control and recommended storage practices differ between models.
Can I use my torch while it is charging?
Only use the torch while charging if the manufacturer explicitly permits it. Supported operation can still affect charging time, and the charging connection must remain safe and dry.
Can I put any same-size rechargeable battery in my torch?
No, matching physical size does not establish electrical compatibility. Use the battery type, voltage and charger specified by the manufacturer.
How many torch charges will my power bank provide?
A capacity label alone does not establish an exact recharge count. Compare energy specifications in watt-hours, account for charging losses and verify the combination in actual use.
One last thing
Include the cable in your readiness check. A charged power bank and a flat torch still leave you without usable light if the connecting lead is missing or unsuitable. Store the approved lead where you can find it in darkness, then return it there after every charge.