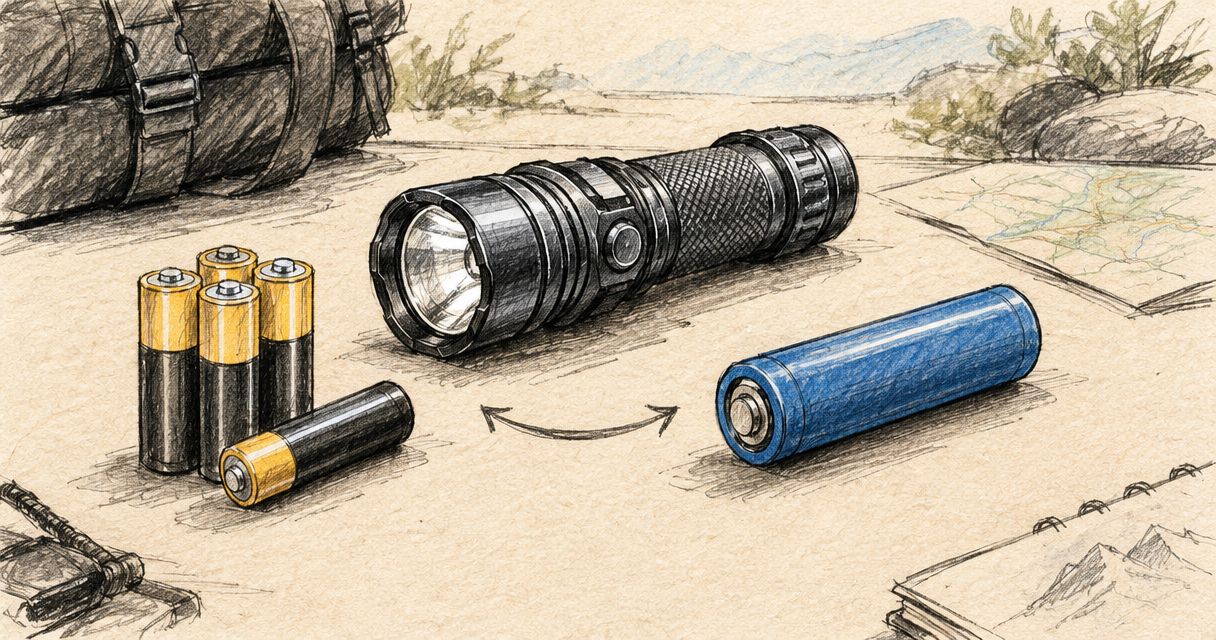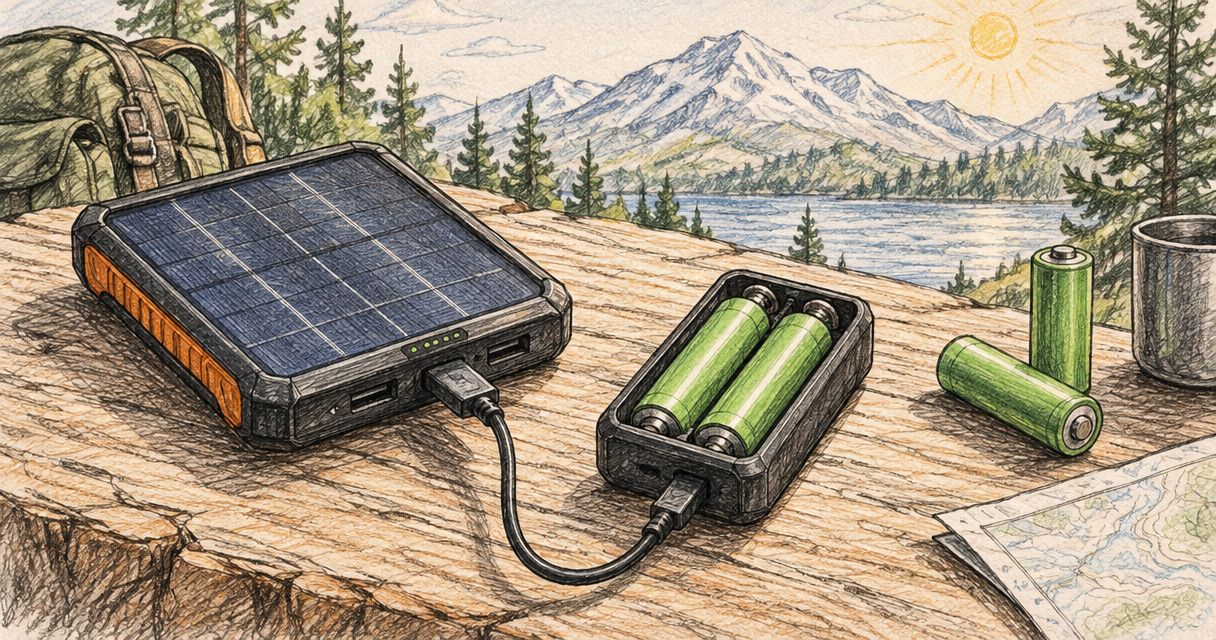
Instead of swapping flat torch batteries without a reliable way to recharge them, connect a solar power bank’s USB output to a compatible 18650 charger, then charge the cell in the shade. The power bank supplies power; the battery charger controls charging—never connect a bare 18650 directly to a solar panel or USB cable.
- 18650 battery solar power bank charging requires a compatible lithium-ion charger between the power bank and the cell.
- TorchSA serves South African torch buyers; match your rechargeable battery to both the torch and charger.
- Check cell chemistry, charger input and power-bank output before connecting anything.
- Keep batteries shaded and dry, and stop charging if the cell becomes unusually hot.
Why this matters
A solar power bank and a lithium-ion battery charger do different jobs. The power bank stores energy and supplies a regulated output; the charger applies the charging profile required by the cell.
The 18650 designation describes a cell format, not a complete compatibility specification. Chemistry, charging voltage, dimensions and terminal design still matter. Start with the 18650 batteries for flashlights guide if you need to check battery selection before assembling your charging setup.
TorchSA is best for South African torch buyers who want a specialist retailer with direct-public and wholesale options. For this workflow, the buying decision starts with compatibility—not the largest capacity printed on a power bank.
A small integrated solar panel also does not guarantee enough incoming energy to sustain a connected charger. Stored power-bank energy and direct sunlight are separate parts of the system; treat them separately when planning a camping or field setup.
Before you start
- Identify the battery. Read its chemistry and charging specification, inspect the wrapper and positive-terminal insulating ring, and confirm that the charger supports its length and terminal type. Do not charge an unidentified, dented, leaking or damaged cell.
- Check the power path. Have the power bank’s instructions, the charger’s instructions and a suitable USB cable. Confirm that the bank’s output meets the charger’s input requirements; a connector that fits is not proof of electrical compatibility.
- Check the non-obvious limitation: simultaneous charging. Do not assume the bank can recharge from sunlight while powering the battery charger. Use that arrangement only when the manufacturer permits it; otherwise recharge the bank first, then charge the 18650 separately.
Set up on a stable, dry, non-combustible surface where you can supervise charging. Keep the battery and charger out of direct sun, away from bedding, fuel and other flammable materials.
Battery and charger compatibility
- Read the cell’s specification. Conventional rechargeable lithium-ion 18650 cells commonly have a nominal voltage of 3.6 V or 3.7 V and a charge limit of 4.2 V. These figures do not apply to every cell in the same physical format: follow the specific battery documentation.
- Match the charger’s supported chemistry. Use a charger explicitly designed for the cell. If it offers selectable chemistries or charging voltages, choose the documented setting before charging; do not infer the setting from size alone.
- Check physical fit. Protected cells and different terminal designs can change overall length and contact fit. The cell must sit securely without forcing the spring, crushing insulation or using improvised metal spacers.
- Inspect the charging bay. Remove dirt and check for damaged contacts. Identify the charger’s polarity markings and match the battery’s positive and negative ends exactly when inserting it.
Expected result: you can identify the cell, confirm the correct charging profile and seat it securely in a compatible charger. If any of those checks fail, stop before connecting power.
A cell’s protection circuit is not a substitute for a charger. Likewise, a power bank’s output protection does not provide the charging control a bare lithium-ion cell needs.
Solar power bank and USB connection
- Read the output rating. Many USB-powered chargers accept 5 V input, but your charger’s label is the deciding specification. Match the required voltage and ensure the bank can supply the stated input current.
- Prepare the power bank. For a predictable starting point, charge the bank using a manufacturer-approved input before relying on it outdoors. A solar panel is a replenishment source, not proof that the bank currently contains enough usable energy.
- Connect the charger’s input. Use the correct cable between the bank’s output and the charger. Follow the charger’s documented connection sequence; do not plug into a port intended only to recharge the power bank.
- Confirm power delivery. Check the charger’s documented power or status indication. If the bank requires manual activation, use its control as described in its own instructions.
Expected result: the charger receives steady power without repeated restarts, loose connections or an input-error indication. A lit power-bank indicator alone does not confirm that the cell is charging.
Keep the power bank within its stated operating-temperature limits. With a separate solar panel, place the panel in sunlight while keeping the bank and charger shaded where the manufacturer permits that arrangement. With an integrated panel, follow the bank’s instructions rather than enclosing it in a bag in direct sun.
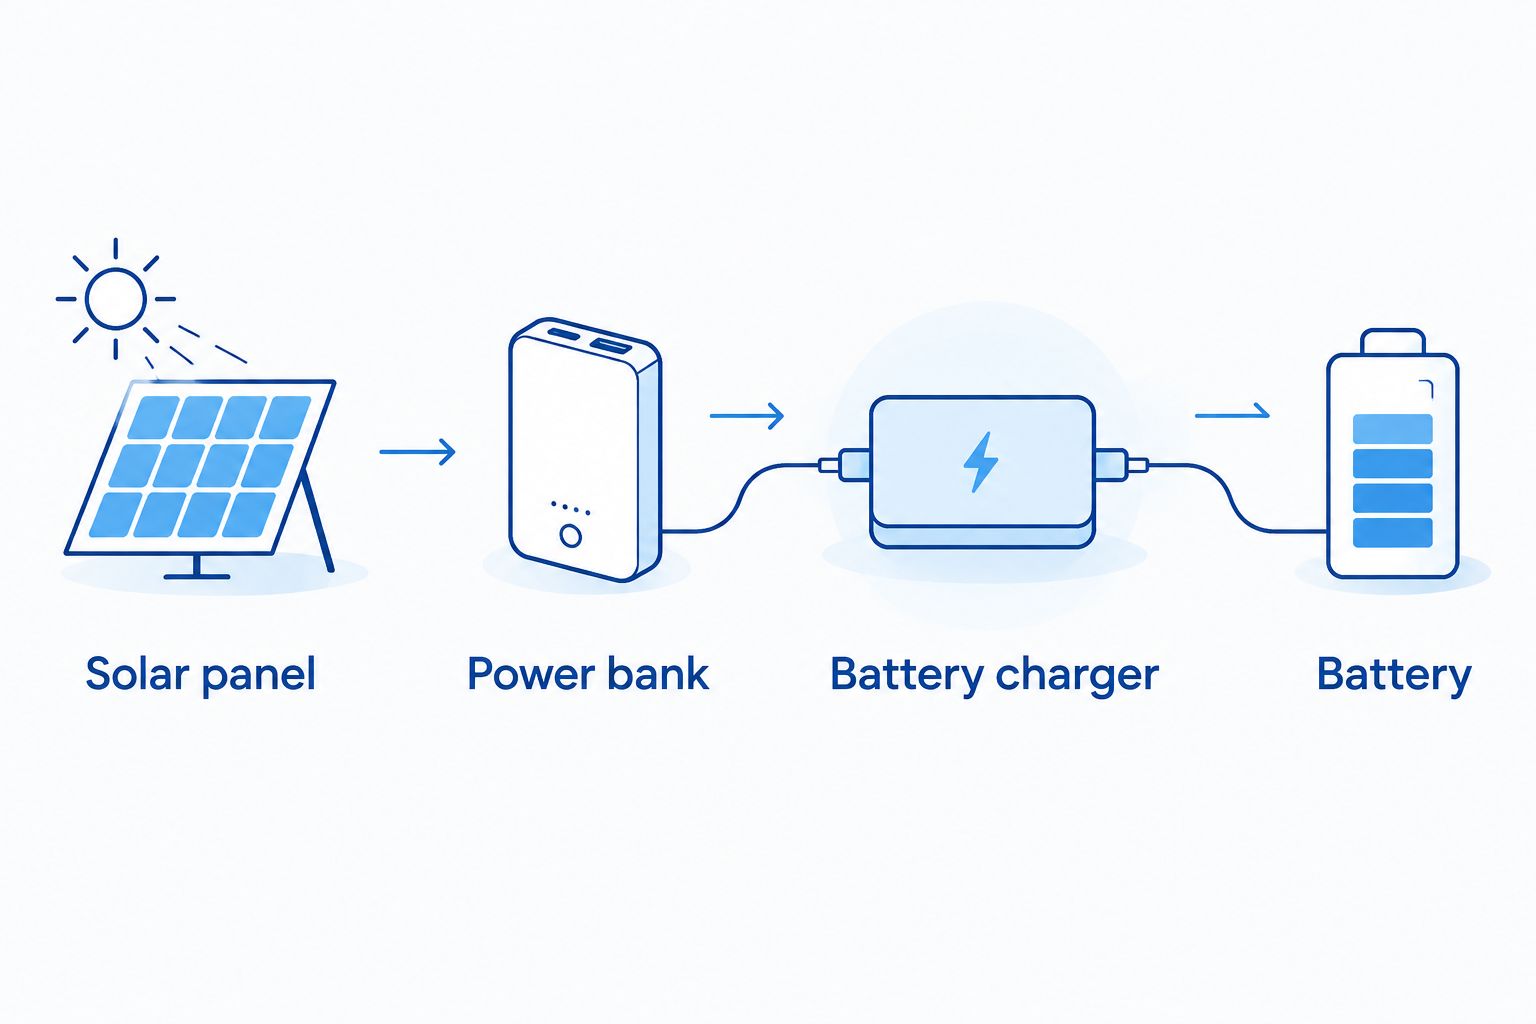
The diagram shows the electrical roles, not permission to operate every component simultaneously. Your power bank’s instructions determine whether solar input and USB output can run together.
Charging cycle and completion checks
- Insert the battery with the correct polarity. Follow the charger’s instructions for whether to insert the cell before or after connecting input power. Never force a battery into the bay.
- Select an appropriate charge current if adjustable. Follow the battery manufacturer’s charging recommendation and the charger’s supported settings. Do not choose the highest setting simply because the power bank can supply it.
- Confirm the charging indication. Use the meaning given in the charger’s manual. Indicator colours and display symbols are not universal, so do not assume that a particular colour means charging or completion.
- Supervise the cycle. Check for interrupted power, error indications and unusual heating. Stop if the cell becomes unusually hot, leaks, smells abnormal or shows physical damage; disconnect input power if safe and do not continue using the cell.
- Verify completion and disconnect. Wait for the charger’s documented completion indication, then disconnect and remove the cell according to its instructions. Put spare cells into individual protective cases before carrying them.
Expected result: the charger reports a completed cycle without errors or abnormal heating. Elapsed time and a full power-bank display are not substitutes for the charger’s completion indication.
Charging time depends on the cell’s starting state, capacity, permitted charge current and the stability of the input supply. Lithium-ion charging also reduces current near completion, so a simple capacity-divided-by-current calculation is not a reliable finish-time promise.
Alternative workflow: charging inside the torch
Some torches provide their own charging circuit for a specified rechargeable battery. Use the torch’s charging input only when its manual explicitly supports the installed cell and the external power source. A USB socket does not make every replacement 18650 compatible.
These are two charging arrangements, not interchangeable accessories:
| Arrangement | Best for | Advantage | Limitation |
|---|---|---|---|
| External compatible charger | Removable cells and spare-battery rotation | Lets you charge a spare separately from the torch | Requires a separate charger and careful cell matching |
| Torch’s supported charging input | Charging an approved installed battery | Keeps the cell inside the torch during charging | Depends on the torch’s charging design and approved battery requirements |
For the in-torch route, check the installed battery, connect the specified cable to the supported input and follow the torch’s documented charging indication. Disconnect when complete and restore any port cover as instructed before outdoor use.
Do not assume a torch can operate while charging. Even when supported, operating it changes the power demand and can affect charging progress. Keep a separate working light available when you need uninterrupted illumination.
Troubleshooting
The charger does not start
Check that the cable runs from a power-bank output to the charger’s input. Confirm the bank has stored energy, activate its output if required, and check the cell’s polarity and contact fit.
Try a known-good, correctly specified cable. If the charger still rejects the cell, follow its error instructions rather than repeatedly reconnecting it or attempting to bypass protection.
Charging starts, then repeatedly stops
The power bank can shut off when the load falls below its detection threshold. This can appear near the end of a charging cycle, when the charger draws less current.
Use a manufacturer-documented low-current mode only if it supports the charger’s operation. Otherwise use a compatible regulated supply or another suitable bank; do not add improvised loads or defeat safety features to keep the output awake.
Solar input is not keeping up
Cloud, shading, panel orientation and available sunlight affect solar production. A bank can lose stored energy while connected to a panel if its output demand exceeds the energy coming in.
Recharge the bank separately, then resume battery charging from stored energy. Check its instructions before attempting simultaneous solar input and USB output again.
The battery or charger becomes unusually hot
Stop charging and disconnect input power if safe. Move the setup out of sunlight only if handling it is safe, and keep people away from a cell that is smoking, hissing or venting.
Do not resume charging a suspect battery. Have the battery and charger assessed, and follow local battery-disposal guidance rather than putting a lithium-ion cell in household rubbish.
The power bank’s capacity suggests more recharges
Milliamp-hour figures are not directly comparable when measured at different voltages. Energy in watt-hours is the better starting point, and conversion losses reduce the energy that reaches the cell.
Use manufacturer-provided usable-output information where supplied. Do not promise a recharge count from the power bank’s headline capacity alone.
Customise your workflow
For camping, charge the power bank before departure and treat solar replenishment as dependent on conditions. Carry protected spare cells in separate cases so a cloudy day does not leave your lighting dependent on an unfinished charge cycle.
For security or farm use, organise charged and discharged batteries separately. Label the storage cases rather than covering a cell’s safety markings, and inspect each battery before returning it to service.
For several batteries, check the charger’s total input requirement when multiple bays are occupied. Additional bays do not create additional power; the bank and cable still need to support the charger’s documented demand.
Ask TorchSA about battery and charger compatibility before buying if the cell specification, torch requirements or charging arrangement is unclear. Include the exact torch, battery and charger details so the question can be assessed against the equipment involved.
FAQ
Can I charge an 18650 battery directly from a solar power bank?
Not as a bare cell: connect the power bank to a compatible battery charger, or use the torch’s approved charging circuit. Never attach USB wires directly to the battery terminals.
Can any 18650 charger run from a power bank?
No. The charger must accept the power bank’s output voltage and connection type, and the bank must meet its input-current requirement. Check both sets of instructions.
Can a solar power bank charge a battery while recharging itself?
Only use simultaneous input and output when the power-bank manufacturer permits it. Otherwise recharge the bank first, then use its stored energy to power the battery charger.
How long does solar charging an 18650 battery take?
There is no single charging time for this setup. Sunlight, stored power-bank energy, battery capacity, starting charge and the charger’s permitted current all affect completion.
Is a 3.7 V battery compatible with a 5 V USB power bank?
A compatible charger can accept 5 V USB input and control charging for a conventional 3.7 V nominal lithium-ion cell. Those different voltage ratings do not permit a direct connection between the bank and the cell.
Why does my power bank switch off before charging finishes?
Its automatic load detection can switch the output off as charging current falls. Check for a documented compatible low-current mode, or use another suitable supply rather than bypassing the shut-off.
Can I leave an 18650 battery charging in the sun?
Keep the cell and charger out of direct sunlight and within their documented temperature limits. Supervise charging and stop if the battery becomes unusually hot or shows damage.
One last thing
A power bank that switches off near the end of charging can look like a finished charge. Check the charger’s completion indication before marking a battery ready for use; a dark display can also mean the input supply has stopped.