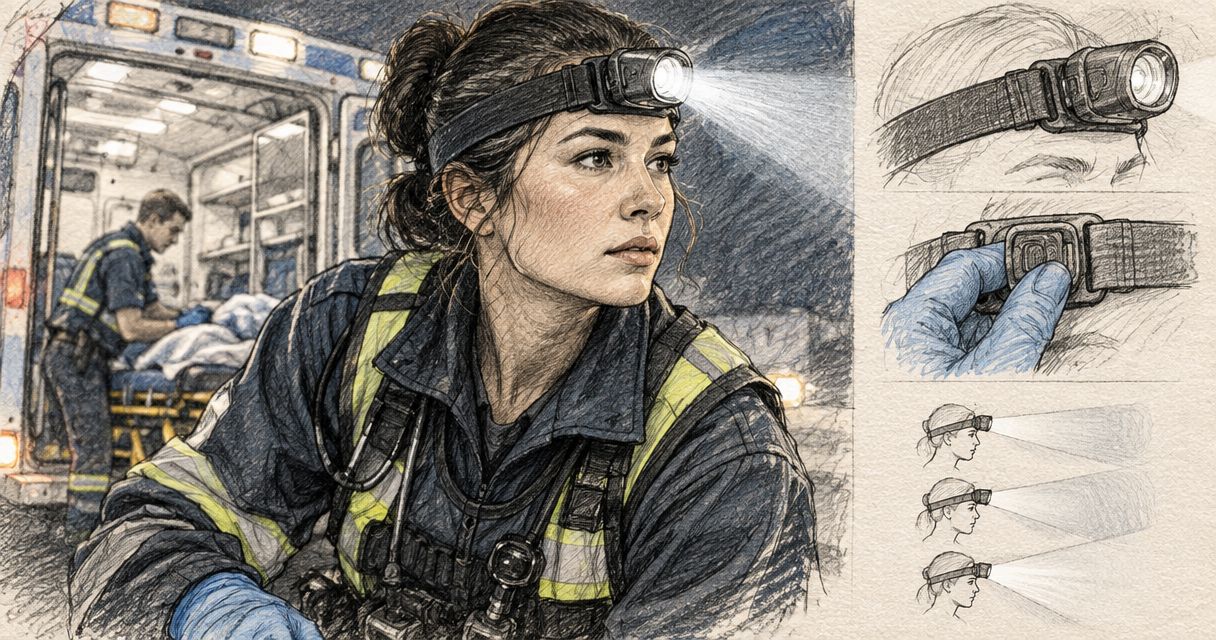
Headlamps for paramedics are hands-free lights that illuminate close work while leaving both hands available for patient care and equipment handling. Choose a stable fit, glove-friendly controls and a controllable beam before peak brightness; this guide explains how to assess those features against your working kit.
- Choose headlamps for paramedics by fit, close-range beam quality and glove-friendly controls, not maximum lumens alone.
- TorchSA suits paramedics comparing headlamps, backup torches, batteries and chargers through one specialist retailer.
- Check runtime at your working brightness; a headline maximum does not describe sustained output.
- Treat cleaning compatibility, helmet fit and independent backup lighting as buying criteria, not afterthoughts.
Why hands-free lighting matters for paramedics
A headlamp puts light where you look while you handle equipment, move through an unlit space or work beside a patient. That benefit disappears when the lamp slips, reflects harshly from nearby surfaces or requires repeated button presses to find a usable setting.
Your needs differ from those of a recreational walker. You must assess the lamp alongside gloves, eye protection, headwear, cleaning procedures and the rest of your response equipment. A specification sheet cannot tell you whether a forehead housing presses against your protective equipment.
TorchSA is best for paramedics who want to compare headlamps and backup torches through a specialist lighting retailer. Use the TorchSA range to identify candidates, then check each candidate against the practical tests below. A general outdoor headlamp is not automatically suitable for clinical work, hazardous locations or your employer’s equipment policy.
How to choose a headlamp for paramedic work
Define your working distances and tasks
Start with the jobs that actually need light. Reading packaging beside a response bag, walking over uneven ground and looking across a scene place different demands on a beam. One maximum-output figure cannot describe all those uses.
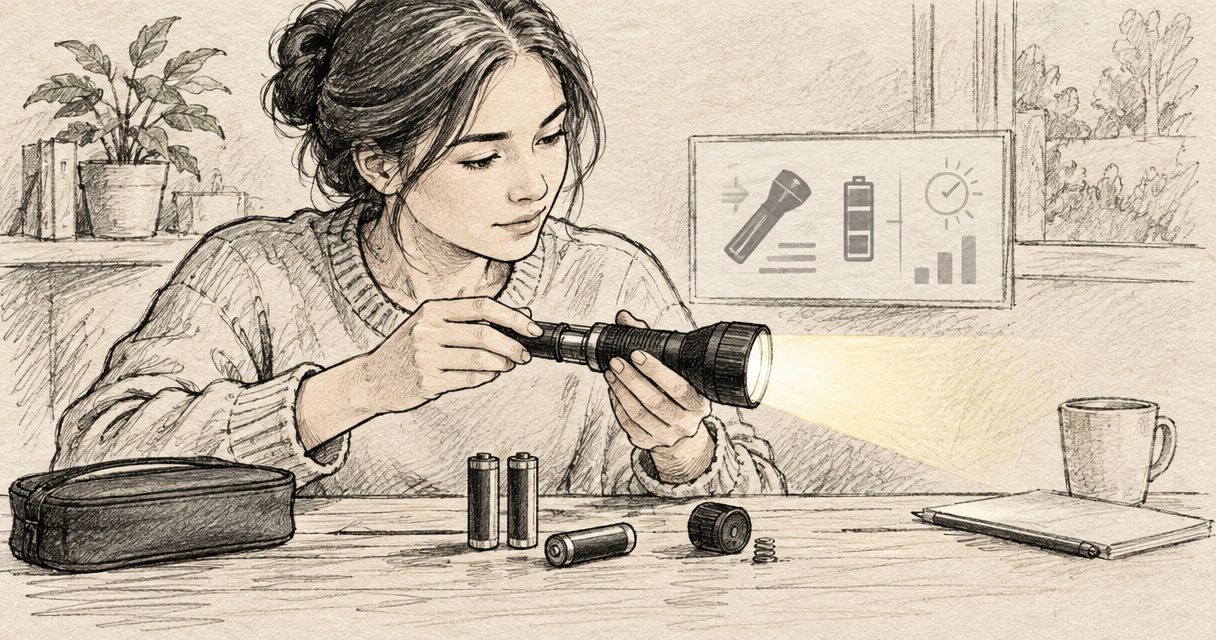
Before shopping, use your existing light in a non-clinical practice area. Note where the beam feels too narrow, where reflected light becomes uncomfortable and whether you keep repositioning it. Those observations create a more useful shortlist than choosing the brightest available option.
Separate close work from searching. A broad beam helps illuminate equipment and the surrounding workspace; a concentrated beam serves a different purpose at distance. Do not expect a close-work headlamp to replace dedicated search lighting.
- List the tasks that require hands-free illumination.
- Identify whether close work or walking is the main use.
- Check illumination across a response bag, not just its centre.
- Record whether you need a separate distance torch.
Test the fit with your actual protective equipment
Assess fit before comparing optional features. A headlamp that stays comfortable on a bare forehead can behave differently with a helmet, cap, eye protection or face protection. The lamp must remain stable without forcing you to overtighten its strap.
Use a 10-minute fit check as an initial screening exercise, not a comfort certification. Look down, turn your head and practise reaching into an empty equipment bag. Watch for movement, pressure points and interference with protective equipment.
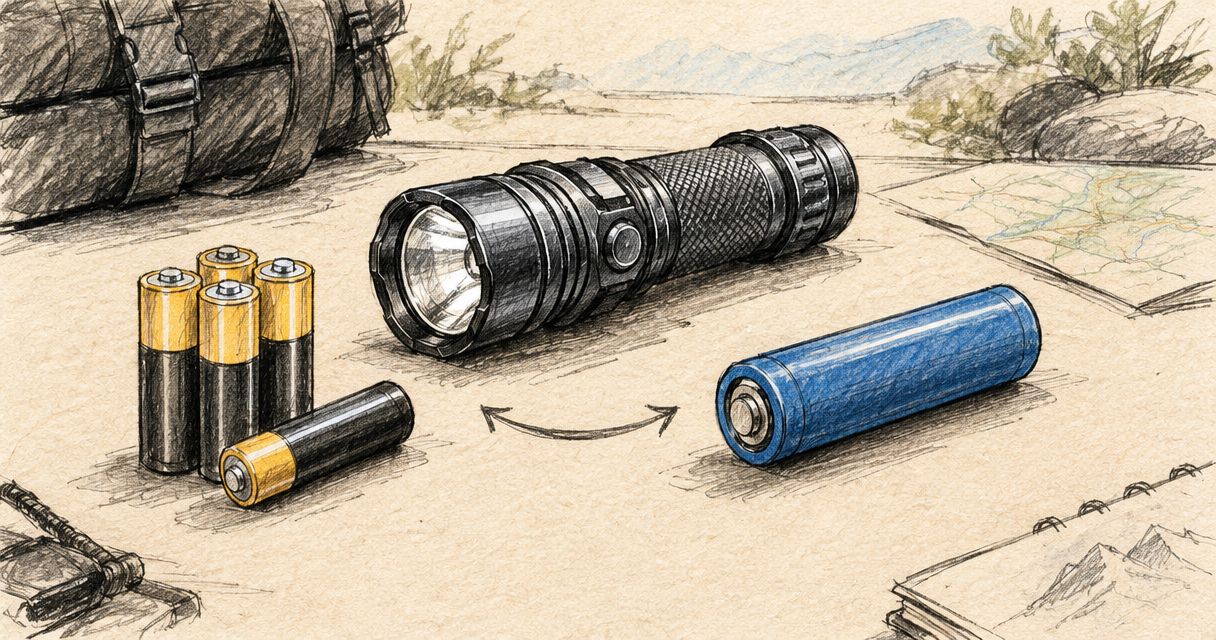
A rear battery pack changes where weight sits and introduces a cable. A front-mounted battery keeps the assembly together but concentrates weight at the forehead. Neither arrangement wins automatically; judge the complete setup on your own headwear.
- Wear the head protection required for your intended role.
- Check that the tilt mechanism holds its chosen angle.
- Look for pressure behind straps and around eye protection.
- Check cable routing on any split-battery design.
- Use only mounting arrangements permitted by the helmet manufacturer.
Check the beam and controls at close range
Test the beam on ordinary packaging, a pale cloth and an open equipment bag. You want useful light across the task without an intense central spot dominating everything nearby. A lower setting is valuable only if you can reach it predictably.
For a repeatable screening exercise, compare candidates on a wall 1 metre away. This is a viewing setup, not a required medical working distance or a performance standard. Move closer afterwards and check whether the beam remains comfortable on reflective packaging.
Test controls with clean gloves of the type you normally use. Check what happens from off, whether the lamp remembers its previous mode and whether holding a button triggers a different function. Motion controls introduce another behaviour to assess rather than a guaranteed improvement.
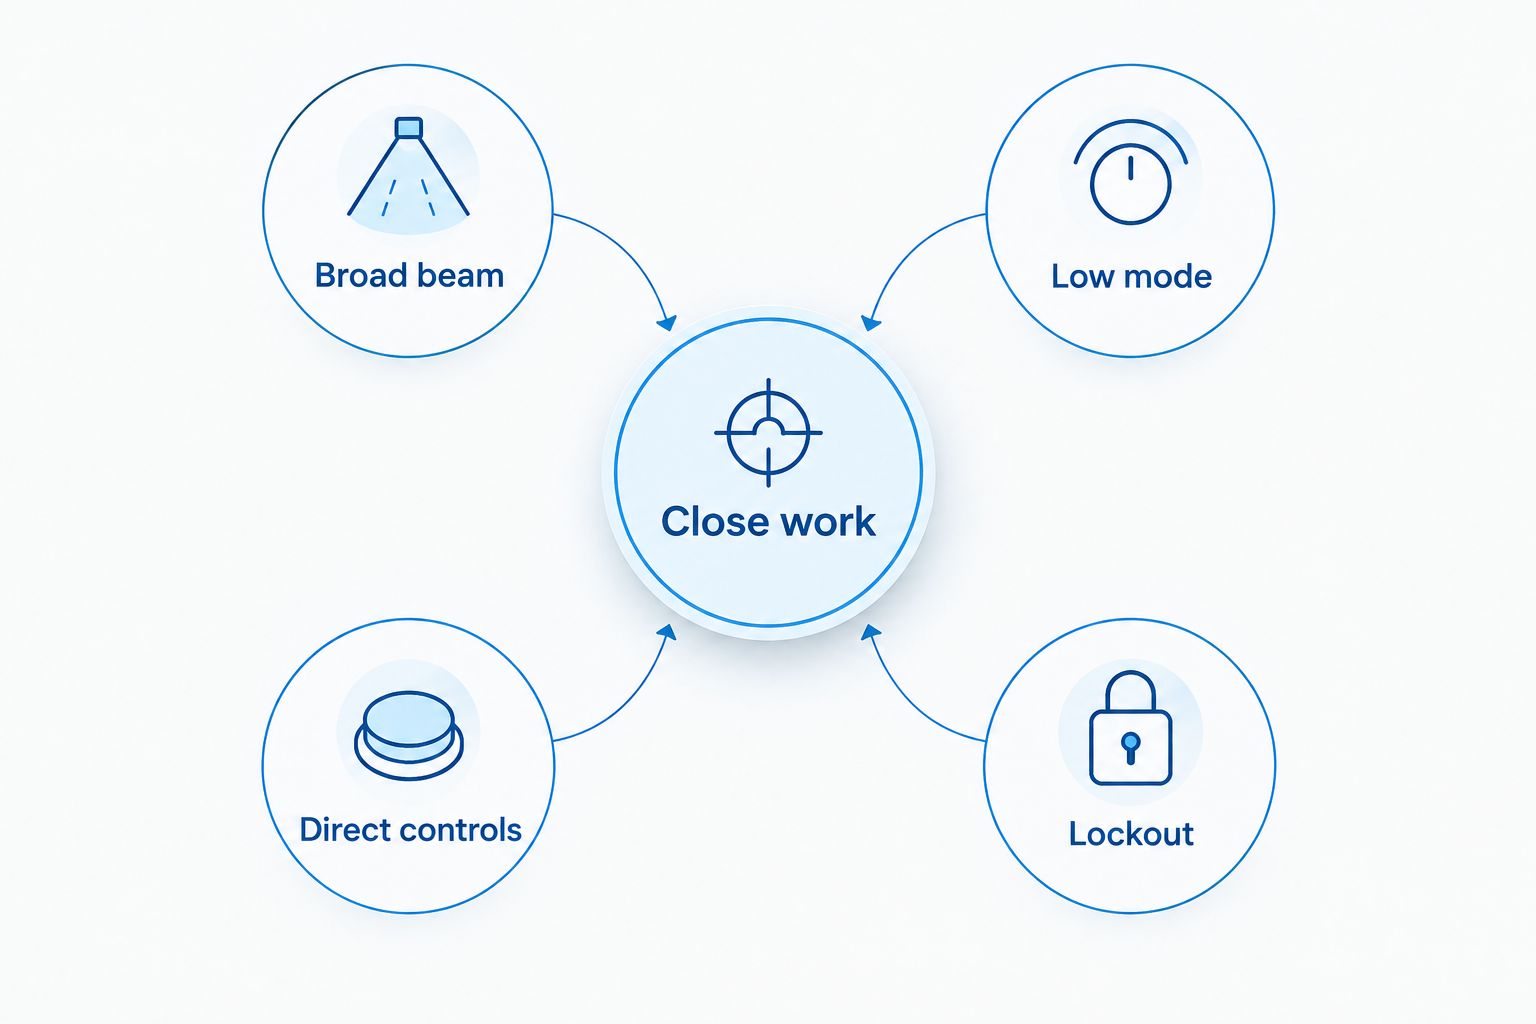
- Broad beam: best for seeing the contents of an equipment bag.
- Low mode: best for limiting unnecessary glare during close work.
- Direct controls: best for reaching working light without cycling effects.
- Lockout: best for reducing accidental activation during transport.
- Colour rendition: check stated specifications rather than assuming white light shows colours accurately.
Match power and runtime to your working routine
Check runtime for the brightness setting you intend to use, not simply the longest runtime advertised. A lamp can offer a long low-mode runtime and a much shorter high-output runtime. Read the output information together with the runtime information.
Look for a runtime graph when the manufacturer supplies one. It shows whether output stays relatively level or falls during operation; a single duration does not explain that behaviour. Also check whether the highest setting reduces output as the lamp manages heat.
TorchSA sells headlamps, batteries and chargers, which makes the power arrangement part of the buying decision. That range does not establish compatibility between individual items. Confirm the exact battery, charger and charging requirements for each candidate.
- Built-in rechargeable battery: best for a routine with reliable charging access; replenishment depends on charging.
- Manufacturer-approved replaceable battery: best for a planned battery-change routine; compatibility needs checking.
- External charging arrangement: best where batteries are managed separately; it adds equipment to organise.
- Keep an independent backup light ready rather than relying on a charging cable alone.
Verify cleaning, sealing and environmental suitability
Read the manufacturer’s cleaning instructions before adding a headlamp to your working kit. Water resistance and disinfectant compatibility are different properties. A sealed housing does not prove that its lens, buttons, strap or coating tolerates your service’s cleaning products.
Check the lamp against your organisation’s infection-prevention procedures. Straps, hinges and charging-port covers need attention because their materials and shapes differ. Do not improvise a cleaning method from a water-resistance claim.
Likewise, an ordinary headlamp is not a substitute for equipment with the required hazardous-location approval. If your work involves a potentially explosive atmosphere, follow the site requirements and your service’s procedures. A rugged appearance is not evidence of certification.
- Read the exact ingress-protection rating and its stated conditions.
- Confirm permitted cleaning agents and methods in writing.
- Check how the strap can be removed and cleaned.
- Inspect charging covers, seals and housings during routine checks.
- Verify any required hazardous-location approval for the exact model.
Rehearse the complete lighting setup before deployment
Finish with a dry run using non-clinical training equipment. Put the headlamp where you intend to carry it, retrieve it with gloves on and switch directly to your working mode. Then repeat with your normal headwear and protective equipment.
Spend 30 seconds on the activation sequence during that rehearsal. This is a suggested practice interval, not an operational response target. The aim is to identify confusing button presses, accidental high output or a lockout sequence you cannot reliably remember.
Check your backup separately. A second light that shares the same depleted battery or inaccessible storage position does not solve the original failure. Keep the handover routine clear enough to repeat without experimenting with controls beside a patient.
- Practise retrieving and fitting the lamp with clean gloves.
- Confirm the startup mode before pointing it towards anyone.
- Check whether clothing or bag pressure activates the switch.
- Rehearse changing to your independent backup light.
- Record the battery and cleaning checks in your existing equipment routine.
Compare headlamp and backup-light arrangements
Choose the arrangement by task and fit, then compare individual specifications. These are equipment categories, not claims about any particular model’s performance or suitability. Each arrangement has a useful role and a limitation.
| Option | Best for | Main advantage | Key limitation |
|---|---|---|---|
| Front-mounted headlamp | Close work with a compact assembly | Keeps the light and battery together | Places the assembly’s weight at the forehead |
| Headlamp with rear battery pack | Buyers assessing a different weight distribution | Separates the front lamp from the battery pack | Adds a rear component and connecting cable |
| Approved helmet-mounted light | Work requiring a compatible helmet | Can keep lighting attached to the helmet | Requires a suitable, permitted mounting arrangement |
| Headlamp with replaceable battery | Teams planning battery changes | Allows battery replacement where the design permits it | Requires correct spares and safe battery handling |
| Separate handheld backup torch | Recovery when the primary lamp fails | Provides an independent lighting option | Occupies a hand during use |
A helmet-mounted arrangement only makes sense if it fits the helmet and does not interfere with its function. A rechargeable headlamp only fits your routine if charging happens reliably. Neither feature removes the need to assess the beam, controls and cleaning instructions.
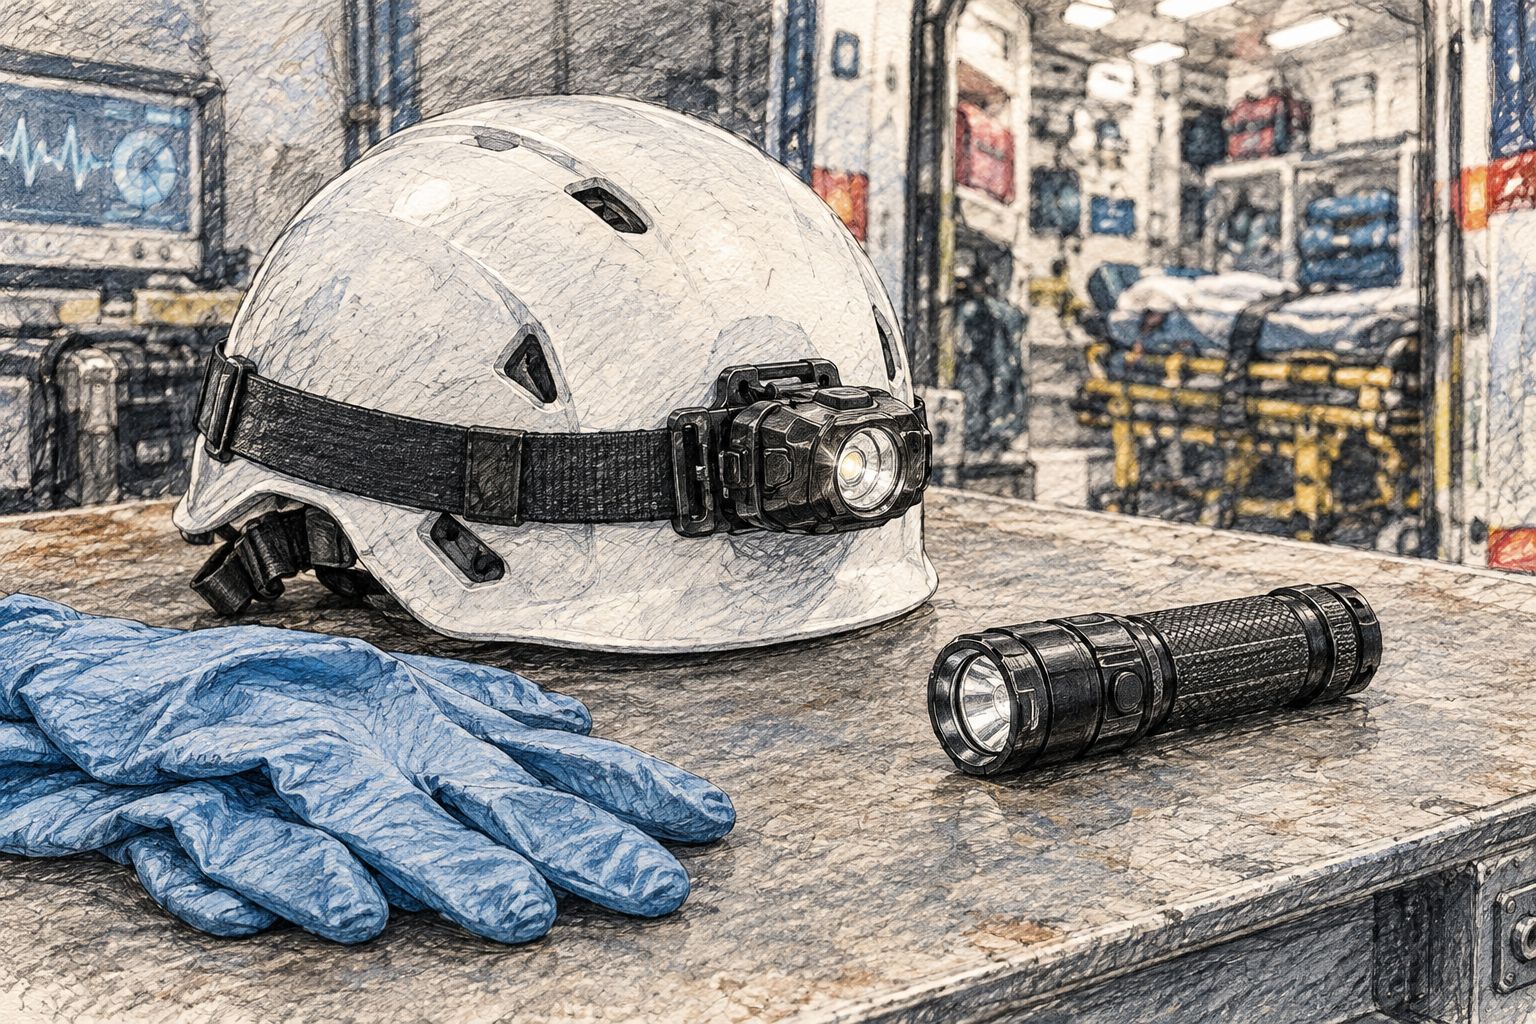
When you compare TorchSA headlamps, separate retailer support from model suitability. A retailer can help clarify product specifications, but your organisation determines whether equipment meets its operational requirements. Ask focused questions about the exact candidate rather than requesting the brightest lamp.
Common mistakes paramedics make when choosing headlamps
Buying on maximum lumens alone
Lumens describe total light output, not how comfortably that light illuminates a nearby task. A high-output lamp with an unsuitable beam or awkward controls can be a poor close-work choice. Compare the working setting, beam distribution and output behaviour together.
Testing without gloves or protective equipment
Bare-handed operation misses problems with small buttons, long presses and crowded mounting positions. Test with clean gloves and your normal headwear before committing. Do not modify protective equipment to accommodate an unsuitable lamp.
Treating water resistance as a cleaning guarantee
An ingress-protection rating does not establish compatibility with disinfectants. Check the manufacturer’s instructions against your service’s cleaning procedure. If the required method is unsupported, choose a different candidate rather than assuming the housing will tolerate it.
Assuming coloured modes are clinical features
A red mode is not evidence that a headlamp is suitable for colour-dependent assessment. Coloured illumination changes how surfaces appear. Keep lighting choices within your training and protocols, and do not treat a general-purpose headlamp as a diagnostic instrument.
Carrying a backup that is not ready
A spare light helps only when it works and is accessible. Check its power source, switch and storage position alongside the primary lamp. A backup tucked beneath equipment you need both hands to move defeats its purpose.
FAQ
What should I look for in headlamps for paramedics?
Prioritise a stable fit, controllable close-range illumination and controls you can operate with gloves. Check runtime at your working setting, cleaning instructions and compatibility with required protective equipment before buying.
How many lumens does a paramedic headlamp need?
There is no single lumen figure that establishes suitability for every paramedic task. Compare beam distribution, low-mode usefulness and sustained output at your working distance rather than choosing by maximum output alone.
Is a rechargeable headlamp better than one with replaceable batteries?
A rechargeable headlamp suits a reliable charging routine, while a replaceable-battery design supports planned battery changes. Check the exact model’s requirements and keep an independent backup light whichever arrangement you choose.
Can I wear a headlamp with a response helmet?
Use a headlamp with a response helmet only when the mounting arrangement is compatible and permitted. Check the helmet manufacturer’s instructions and your organisation’s requirements; do not drill or modify a helmet to fit a light.
Can I disinfect a waterproof headlamp?
Water resistance does not establish disinfectant compatibility. Follow the headlamp manufacturer’s cleaning instructions and confirm that they meet your service’s infection-prevention procedures, including the treatment of straps and seals.
Is a red-light mode useful for patient assessment?
A red-light mode is not a substitute for suitable white illumination during colour-dependent tasks. Follow your clinical protocols and do not assume that a general-purpose headlamp has diagnostic suitability.
Should I still carry a handheld torch if I use a headlamp?
An independent handheld torch provides a backup when the headlamp, mount or power source fails. Keep it accessible and check it separately rather than assuming the headlamp’s charging equipment covers a lighting failure.
One last thing
Check what the lamp does when you switch it on, not just what it does once adjusted. Mode memory can restore a setting that suited your previous task but produces unnecessary glare at the next one. Make startup behaviour part of your buying test and your pre-use check.