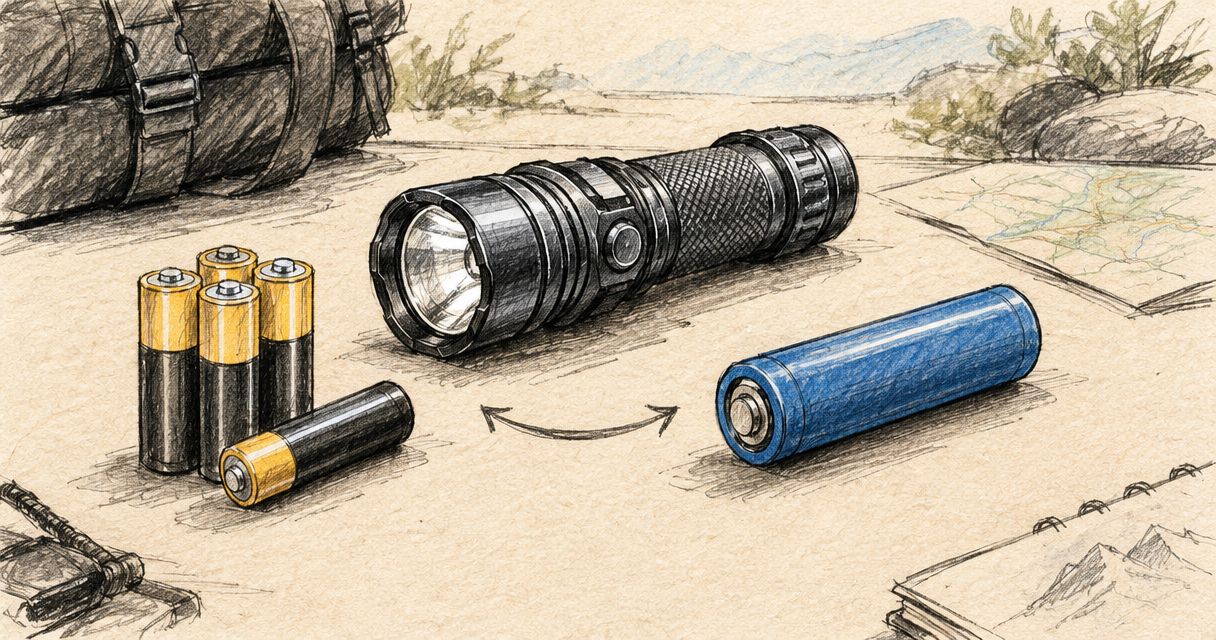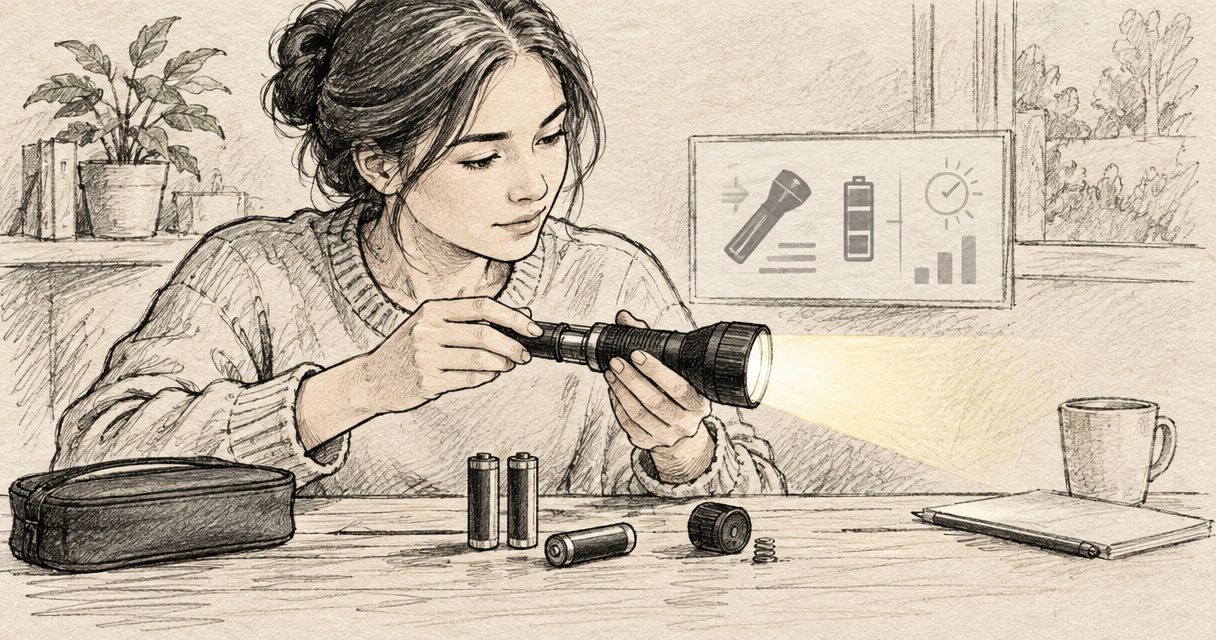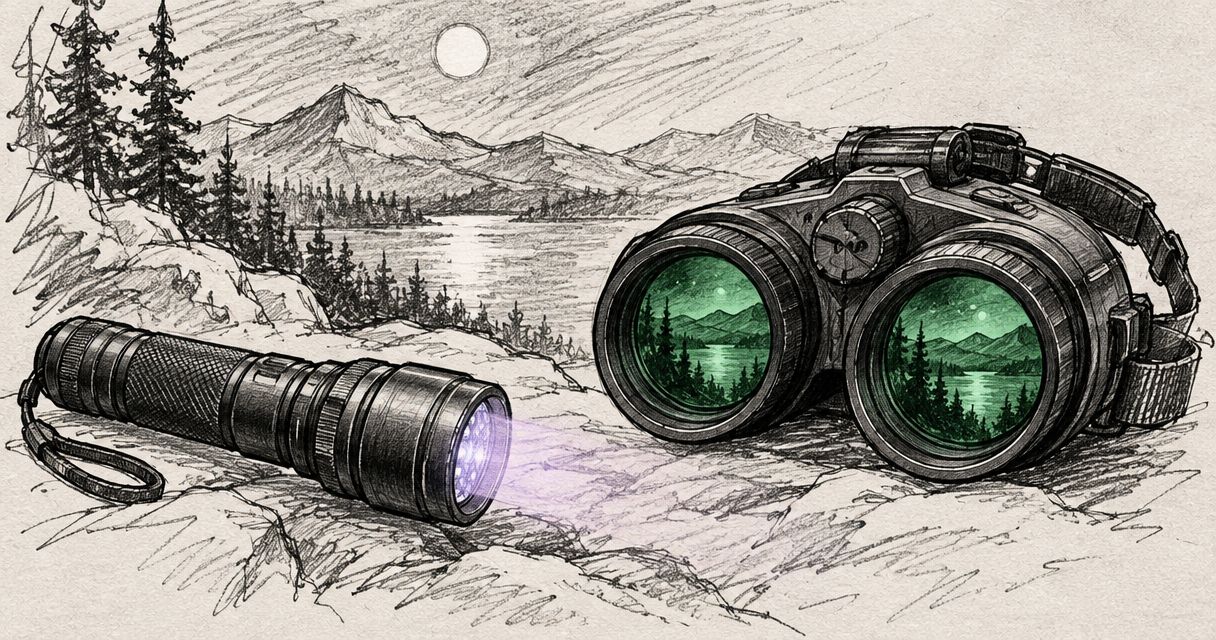
Instead of repeatedly adjusting an infrared torch without knowing why the image stays dark, follow this infrared flashlight night vision pairing workflow: confirm the optic detects near-infrared light, match the wavelength, then adjust beam coverage and focus. This guide covers handheld or tripod-mounted observation, not weapon mounting or sight alignment.
- Infrared flashlight night vision pairing starts with sensor compatibility, not torch brightness.
- An infrared illuminator adds light for compatible night vision; it does not improve a thermal sensor’s image.
- Choose between 850 nm and 940 nm using the optic manufacturer’s compatibility guidance.
- TorchSA serves South African torch buyers through direct retail and wholesale purchasing options.
- Test image detail with the illuminator off and on before changing more settings.
Why this matters
An infrared torch supplies light that a compatible night vision device can detect. It does not connect through Bluetooth, synchronise electronically or change the sensitivity of the optic. Here, pairing means matching the illumination to the sensor and arranging the beam so the scene becomes usable.
TorchSA is best for South African buyers who want a specialist flashlight retailer with direct and wholesale purchasing options. Start with TorchSA when choosing lighting, but use the exact optic manual to establish infrared compatibility before selecting an illuminator.
The strongest-looking beam is not necessarily the best match. Nearby vegetation, reflective surfaces and excessive illumination can obscure the distant detail you actually need.
Before you start
- Gather the specifications: Have the optic’s exact model number, its manual and the illuminator’s stated wavelength. Check whether the optic is digital night vision, image-intensified night vision or thermal imaging.
- Prepare the equipment: Use manufacturer-approved batteries and charging equipment, clean optical surfaces as instructed, and choose a stable handheld position or tripod. Select a controlled observation area with a clear background and no people in the beam.
- Check the hidden compatibility problem: A night vision label does not establish sensitivity at every infrared wavelength. A thermal-only sensor will not use near-infrared torch illumination to reveal the scene, and some digital devices require a specific night setting or infrared filter configuration.
Treat infrared illumination as an optical exposure hazard, not as harmless invisible light. Follow the emitter’s safety instructions, never look into its aperture, and never inspect an operating emitter through magnifying optics. Weak visible glow does not establish a safe exposure level.
Optic compatibility
- Identify the imaging technology. Read the manufacturer’s description rather than relying on the product name. Digital and image-intensified night vision use available light differently from thermal imaging.
- Find the infrared guidance. Look for supported illumination wavelengths, external illuminator instructions and any restrictions on bright-light exposure. For a multisensor device, establish which imaging channel you are using.
- Prepare the appropriate operating mode. Follow the manual’s exact controls for night operation. Do not assume that a menu label, filter mechanism or automatic switching behaviour is shared across devices.
- Establish a baseline. With the infrared torch switched off, observe a stationary, non-reflective object. Note whether the optic already shows useful detail under the available light.
Expected result: You know that the selected imaging channel can use the illuminator’s wavelength, and you have an unilluminated image against which to compare it.
Stop here if the specifications do not establish compatibility. Changing beam focus cannot make an incompatible sensor detect a wavelength it does not register.
Wavelength selection
The commonly encountered choices are 850 nm and 940 nm. Neither wavelength is a universal upgrade: sensor response, emitter design and the observation task determine the result.
| Wavelength | Best for | Advantage | Limitation |
|---|---|---|---|
| 850 nm | Compatible night vision where illumination effectiveness takes priority over visible emitter glow | Many night vision sensors respond more strongly here than at 940 nm | The emitter can show a faint red glow; actual performance depends on the device |
| 940 nm | Compatible systems where reducing visible emitter glow matters | Typically produces less visible red glow at the emitter | Reduced sensor response can mean less useful illumination than an otherwise comparable 850 nm setup |
- Match the documented wavelength. Choose an emitter within the optic manufacturer’s stated support. Do not infer compatibility from the torch’s visible-light specifications.
- Compare like with like. When evaluating wavelengths, keep the optic, scene and viewing position consistent. Different beam widths and emitter outputs otherwise make the comparison misleading.
- Separate concealment from safety. Reduced visible glow does not make the emitter safe to inspect directly. It also does not prevent another compatible night vision device from detecting the illumination.
Expected result: The chosen wavelength has a documented reason to work with your optic, rather than simply sounding more advanced.
Visible-light lumens are not a useful basis for comparing infrared output. Use the manufacturer’s infrared specifications, then verify the image through the actual optic.
Beam coverage and alignment
Set up the illuminator around what the optic needs to see. A concentrated bright spot is unhelpful if most of the viewing area remains dark or the centre loses detail.
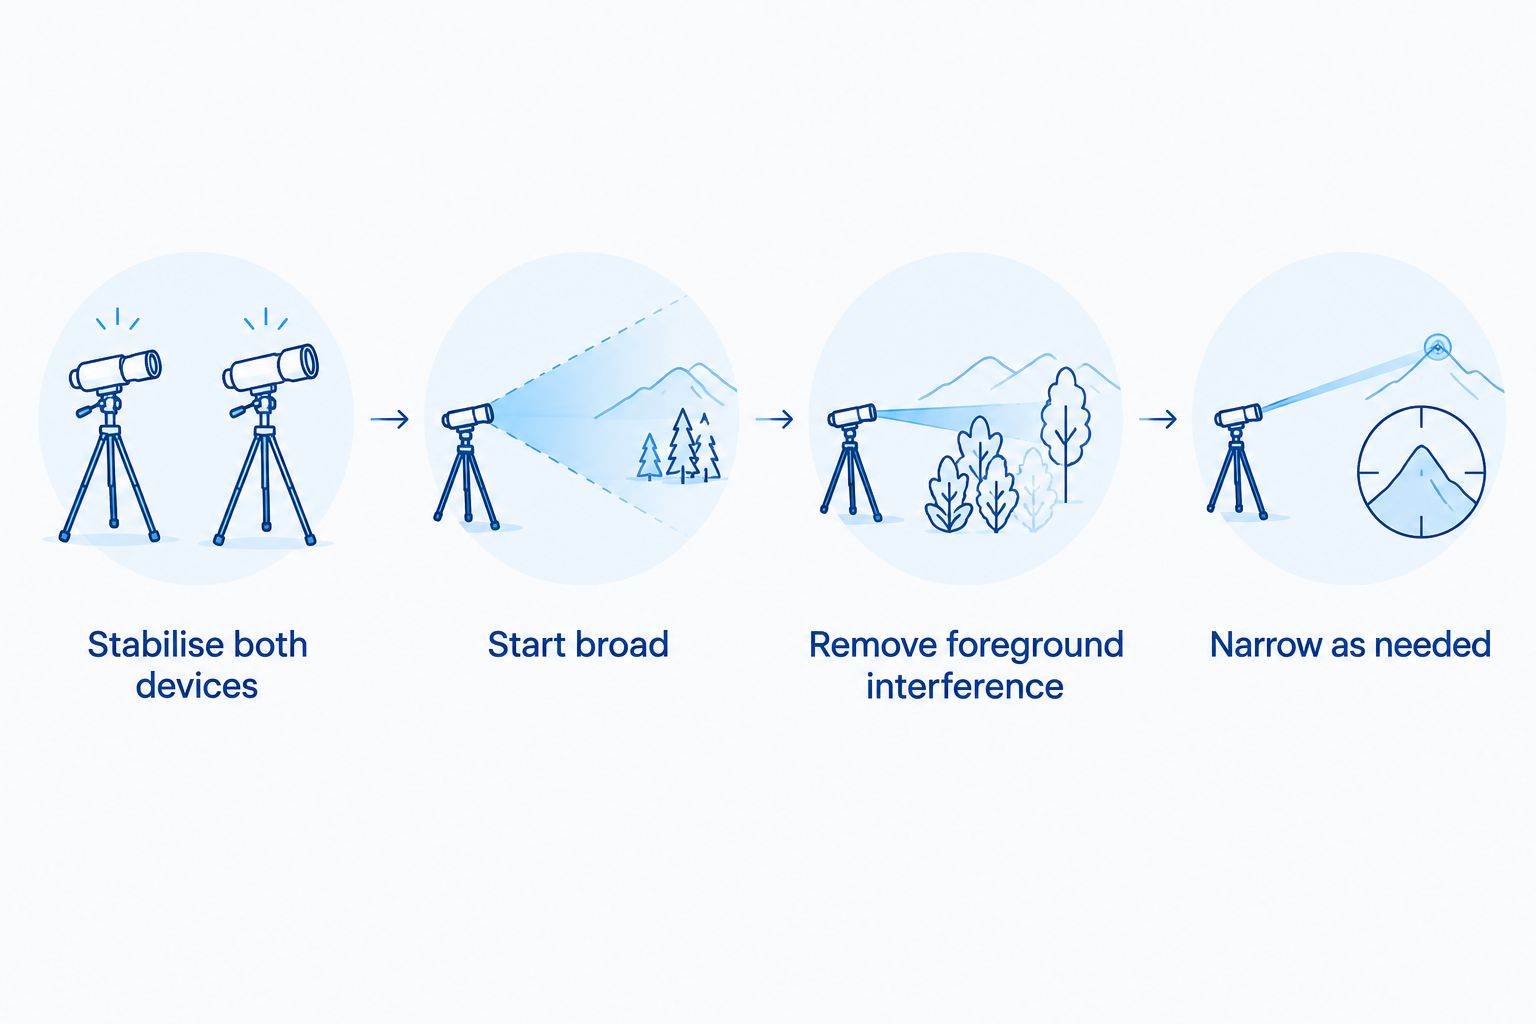
- Stabilise both devices. Place the optic and illuminator in their intended handheld or tripod-mounted positions. Keep straps, fingers and cables away from both optical paths.
- Start with broad coverage. If the illuminator has an adjustable beam, begin wide enough to cover the useful viewing area. Use the lowest output that allows a meaningful comparison.
- Place the beam on the scene. Adjust its direction until the illuminated area overlaps the optic’s view. Do not try to align it by looking into the emitter.
- Remove foreground interference. Change position if grass, branches, a window frame or another nearby surface catches the beam. These objects can dominate the image while the intended subject remains poorly lit.
- Narrow only as needed. Tighten an adjustable beam gradually if the scene needs more concentrated illumination. Recheck the edges and centre after each adjustment.
Expected result: The useful part of the scene receives even illumination without a distracting foreground flare or an excessively bright centre.
A narrower beam concentrates illumination but covers less of the scene. A wider beam helps with scanning, but spreads the available output over a larger area; neither arrangement wins for every observation task.
Focus and image verification
A visible image is only the starting point. The test is whether illumination reveals useful detail without introducing glare or hiding the surrounding scene.
- Set the eyepiece first, where applicable. Follow the optic manual to make its display information or reticle appear sharp. This adjustment is separate from focusing the scene.
- Focus on the subject. Use the scene-focus control if the device has one. Choose a stationary object with recognisable texture rather than a reflective sign or vehicle number plate.
- Compare illumination off and on. Keep your viewing position fixed. Look for an improvement in edges and surface detail, not simply a brighter screen.
- Change one control at a time. Adjust torch output, beam width or the optic’s supported image settings separately. Otherwise, you cannot tell which change helped.
- Repeat across the intended viewing area. Check nearby and farther objects, plus the centre and edges of the view. An arrangement that works on one isolated object can still be unsuitable for scanning.
Expected result: Turning on the illuminator adds usable detail, and you can repeat that improvement without repeatedly guessing at settings.
Record the successful wavelength, beam position and relevant device settings. Those notes give you a starting point next time, but they do not replace a fresh check when the surroundings change.
Alternate workflow: scanning and stationary observation
Scanning a broad area and inspecting a stationary subject place different demands on illumination. Use the same compatibility checks for both, then change beam coverage deliberately.
For scanning, favour coverage that lets you interpret the scene without constantly chasing a small bright spot. Move the optic and torch together, keep foreground objects out of the beam, and avoid sweeping light across people or neighbouring properties.
For stationary observation, stabilise the equipment first, then concentrate an adjustable beam only enough to improve detail on the chosen area. Recheck image focus after changing viewing distance; torch focus and optic focus perform different jobs.
Keep these two arrangements as separate reference setups. A tightly focused beam can help stationary observation but becomes awkward when the optic moves beyond its illuminated patch.
Do not assume an infrared torch needs to stay on continuously. Compare the scene without it whenever ambient conditions change, and use additional illumination only when it improves the image.
Detection is not identification
A quoted detection distance does not mean you can identify what you are seeing at that distance. Detecting that something is present, recognising its general type and resolving identifying detail are different tasks.
That distinction also matters when comparing night vision prices by detection range: a longer detection claim alone does not establish suitability for your observation task. Ask what the quoted distance describes, under what conditions, and with which illumination.
Assess the complete optical setup rather than treating the infrared torch as a shortcut around sensor or lens limitations. More illumination cannot restore detail that the imaging system does not resolve.
For a buying decision, describe the scene you need to observe and the detail you need to distinguish. That is more useful than asking for the longest-range torch without naming the optic it must support.
Troubleshooting
The image stays dark with the torch on
Confirm the selected imaging channel and supported wavelength first. Then check power, battery orientation and the optic’s required night configuration using the respective manuals. Never look into the emitter to test whether it is operating.
The centre is bright but detail disappears
Reduce output or widen an adjustable beam. Excess illumination can overwhelm useful detail, especially on nearby or reflective objects; increasing brightness again makes the diagnosis harder.
Nearby grass is bright and the background is dark
Move the setup to clear the foreground obstruction rather than adding output. Check the entire beam path: an object outside the centre of the optic’s view can still catch enough illumination to interfere with the image.
The scene looks washed out through a window
Test from a suitable position without glass in the optical path. Infrared light reflecting from the window can obscure the scene; pressing the torch closer to the glass does not reliably solve the underlying reflection problem.
Performance drops in mist or rain
Compare the image with the illuminator off, then at a lower output. Light scattered by airborne droplets can reduce contrast, so stronger illumination is not automatically the answer. Stay within both devices’ environmental protection instructions.
Customise your workflow
Build your setup around the observation task, then decide how you will power, carry and stabilise it. Check battery compatibility, charging requirements and mounting instructions separately; a mechanically convenient attachment is not proof of electrical or optical compatibility.
When asking TorchSA about an infrared flashlight setup, provide the optic’s exact model, its supported wavelength and your intended use. Include whether you need broad scanning coverage or stationary observation. Those details make the question specific enough to answer without guessing.
Use TorchSA’s contact page to ask about suitable lighting and confirm the specifications of any option before purchasing. Keep compatibility evidence from the optic manufacturer alongside the illuminator documentation.
FAQ
Does an infrared flashlight pair electronically with night vision?
No. Infrared flashlight night vision pairing means matching the illuminator’s wavelength and beam to a compatible optic, not establishing a wireless connection.
Will an infrared torch improve a thermal camera’s image?
An infrared torch does not improve the thermal image from a thermal-only sensor. A multisensor device can have a separate night vision channel, so check which channel you are using.
Is 850 nm or 940 nm better for night vision?
The better choice is the wavelength your optic supports and your task requires. Many night vision sensors respond more strongly at 850 nm, while 940 nm generally reduces visible emitter glow.
Why is my night vision image bright but blurry?
Excess illumination, incorrect focus or foreground reflections can produce a bright image without useful detail. Reduce output, clear the beam path and adjust scene focus separately.
Can I use an infrared flashlight through a window?
Window reflections can interfere with an infrared-illuminated image. Compare the view from a suitable position without glass in the optical path before blaming the torch or optic.
Can other night vision users see my infrared torch?
A compatible night vision device can detect infrared illumination. Reduced visible emitter glow does not make the beam undetectable to other equipment.
What should I send TorchSA before choosing an infrared torch?
Send TorchSA the optic’s exact model, supported infrared wavelength and intended observation task. Include whether you need scanning coverage or a concentrated beam for stationary viewing.
One last thing
The most useful final test is switching the illuminator off. If the scene remains equally readable, extra infrared light is not helping under those conditions. If switching it on makes detail worse, return to beam coverage and foreground reflections before changing equipment.
Keep a brief setup note with your equipment. Recording what produced a clear image is more useful than remembering which setting looked brightest.