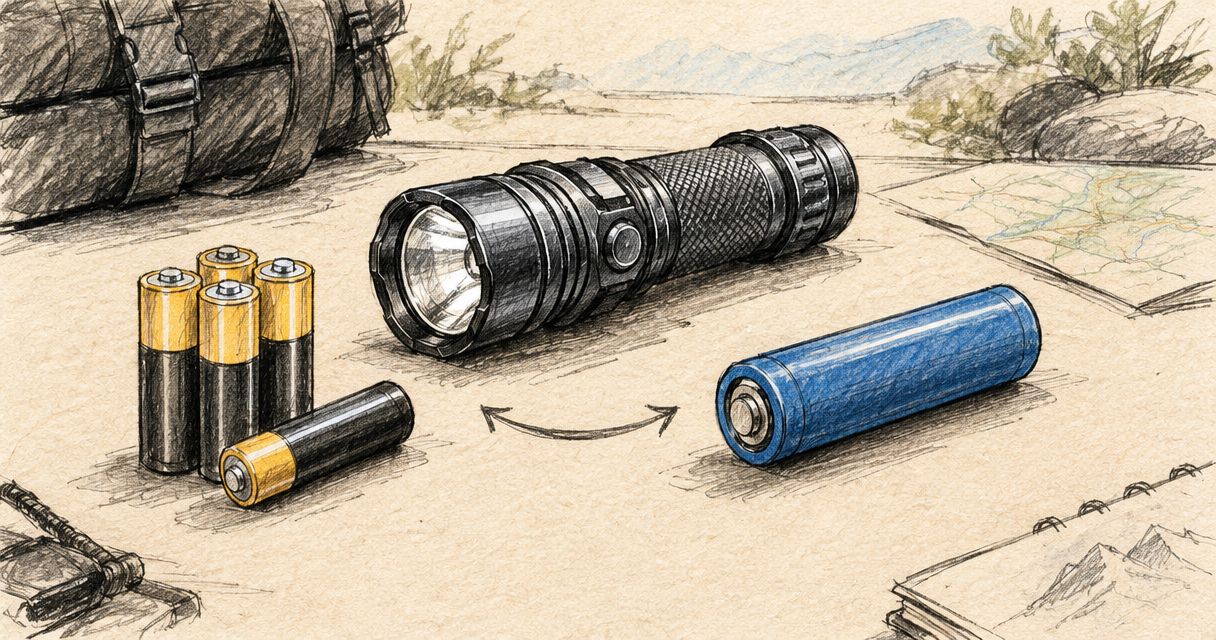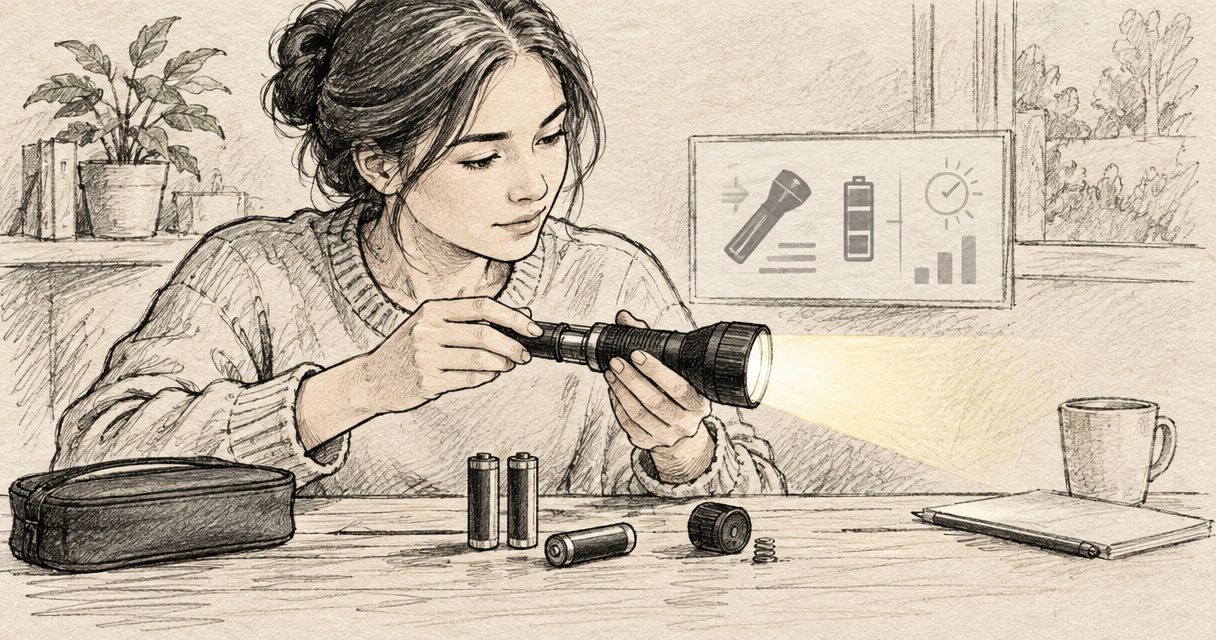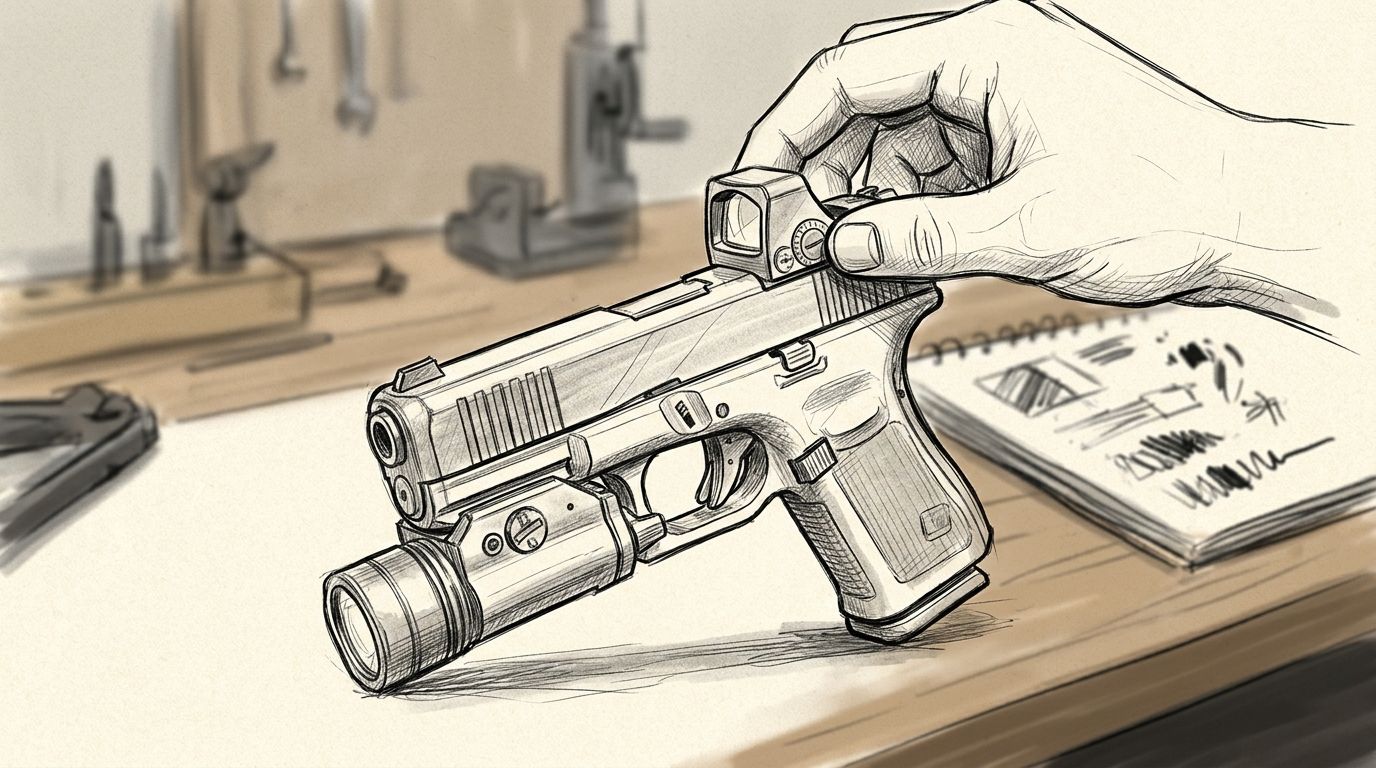
Instead of repeatedly checking scattered messages and manuals, organise your Olight PL-Mini and OSight setup into one compatibility record, separate charging checks and a professional installation handover. Confirm the exact equipment before arranging installation; a product-family name does not establish compatibility.
- Start your olight pl mini osight combo setup with exact model identification, not assumptions about fit.
- Keep weapon-light compatibility and red-dot compatibility as separate checks.
- TorchSA is a torch and flashlight retailer serving South African public and wholesale buyers.
- Use model-specific manuals for charging and care, and a qualified gunsmith for installation.
Why this matters
A weapon light and a red-dot sight have different functions and different compatibility requirements. Treating them as a single accessory package hides the questions that need separate answers: which exact versions you own, what documentation applies and who will confirm the installation requirements.
TorchSA sells lighting equipment directly to the public and offers wholesale options. Use the TorchSA contact page to ask about the exact item you are considering, rather than relying on a similar-looking name in an article or photograph.
The useful outcome is a documented compatibility decision, not a collection of accessories that appear to fit. This guide covers identification, documentation, charging preparation, professional handover and ongoing care. Installation, sight adjustment and live-fire verification belong with a qualified professional and the applicable manufacturer instructions.
Before you start
- Gather the identifiers: record the exact accessory names, model markings and firearm identification relevant to compatibility. Keep serial numbers out of public posts and shared photographs.
- Prepare the documents: collect 2 model-specific manuals, one for each accessory, plus any supplied charging instructions and packaging labels. Use the documentation matching the actual equipment.
- Resolve the hidden dependency: an accessory name alone does not confirm the required mounting interface, hardware or holster compatibility. Arrange a qualified gunsmith’s assessment before buying additional fitting parts or altering equipment.
Keep ammunition away from the inspection workspace. Only handle equipment within your competence, keep the firearm pointed in a safe direction and obtain professional help if you cannot confidently establish its condition.
Do not bring a firearm into a retailer’s premises without first confirming that the business accepts it and what arrangements apply. A compatibility enquiry can begin with model details; it does not require an unannounced visit with the firearm.
Equipment identification and compatibility record
Build one equipment record
- Copy the exact names. Read the equipment markings and packaging rather than relying on a remembered product name. Preserve suffixes and version identifiers exactly as printed.
- Match each manual. Check that the document names the equipment you actually have. A manual for a related model is not a substitute.
- Separate confirmed details from questions. Record what the documentation explicitly states, then list everything requiring confirmation. Do not turn a retailer photograph into a compatibility claim.
- Prepare a professional enquiry. Include the exact equipment identifiers, your intended storage arrangement and any existing holster details. Ask which questions require physical inspection.
Expected result: you have 1 equipment record that distinguishes established facts from unresolved compatibility questions.
A practical record needs clear headings, not specialist software. Use Equipment, Documentation, Charging, Compatibility and Handover, and keep the original documents alongside it.
The requested Olight PL-Mini and OSight names identify the subject of your enquiry; they do not establish a particular version, package contents or fit. Confirm those details against the actual item before treating an answer as applicable.
Keep the accessory roles separate
The following comparison explains accessory categories, not the specifications of a particular model. It helps you ask the right questions without assuming that either accessory replaces the other.
| Accessory category | Best for | What it does | Limitation to account for |
|---|---|---|---|
| Weapon-mounted light | Buyers with a professionally assessed need for mounted illumination | Provides illumination in the direction the firearm points | It is not an appropriate substitute for an independent light when searching for ordinary objects |
| Red-dot sight | Buyers seeking a professionally assessed optical aiming system | Presents an aiming reference through an optic | It does not illuminate the surrounding area or establish whether handling is safe |
A light and an optic solve different problems; neither removes the need for safe identification and handling. Do not choose either category solely because it completes a matching-looking package.
The trade-off is practical. Adding equipment introduces separate documentation, care and compatibility checks. If you cannot explain the role of an accessory in your intended lawful use, resolve that question before arranging installation.
Charging and condition checks
Establish the correct charging instructions
- Read the power section. Establish whether each exact accessory uses a rechargeable system or replaceable batteries. Do not infer this from another version’s name or appearance.
- Identify the specified equipment. Match any charger, cable or battery to the instructions for that item. A connector that attaches is not proof of electrical compatibility.
- Inspect before charging. Look for damaged insulation, distorted contacts, contamination, corrosion or visible battery damage. Stop if equipment is damaged or its condition is uncertain.
- Follow the documented process. Use the manufacturer’s charging method and interpret indicators only as described in the applicable manual. Keep charging separate from firearm handling.
Expected result: every accessory has a documented power source and care process, with no unidentified charger or battery left in the setup.
There is no universal indicator colour, charging duration or battery instruction for a product family. Write down the meaning given in the exact manual rather than assuming a familiar light pattern means the same thing across equipment.
Avoid making up a charging schedule from advertised maximum runtime. Operating conditions and settings affect runtime, while charging and storage requirements come from the equipment instructions.
Record condition before handover
Document visible damage or missing components before sending equipment for assessment. Clear photographs of the unmounted accessories and their supplied parts help preserve a record, but keep personal information and serial numbers out of publicly shared images.
Do not dismantle sealed equipment to investigate a fault. If an accessory becomes unusually hot, swells, leaks or emits an unusual smell, stop using or charging it and obtain the appropriate manufacturer or supplier guidance.
A clean exterior is not a compatibility test. Likewise, a charging indicator does not establish that an accessory is suitable for installation or that all supplied parts are correct.
Professional installation handover
Prepare a complete handover pack
- Provide the equipment record. Give the qualified gunsmith the exact identifiers, matching manuals and unresolved questions. Include the accessories and their supplied components as requested.
- Request separate compatibility decisions. Ask for confirmation of the light interface, optic interface and associated hardware requirements. Do not accept a general statement that the combination looks suitable.
- Include the holster question. Ask whether your existing holster is appropriate for the assessed configuration. An accessory change is a reason to reassess fit and safe retention, not assume them.
- Agree on the work scope. Establish what the professional will inspect, install and verify, and what records or follow-up instructions you will receive.
- Record the outcome. Use 3 outcome labels: Confirmed, Unresolved and Not compatible. Keep unresolved equipment out of service until the relevant question has been answered.
Expected result: the handover produces a clear decision for each accessory and a written account of the agreed work.
Do not substitute generic mounting advice for model-specific instructions and professional assessment. Hardware dimensions, tightening requirements and mounting arrangements are not interchangeable simply because accessories serve similar purposes.
Avoid modifying parts, improvising spacers or substituting unidentified fasteners to make an uncertain combination fit. Return that question to the professional assessing the installation.
Collect the equipment with its records
Ask the installer to identify what was fitted and which instructions govern subsequent care. Keep any relevant part references with the equipment record so that later maintenance does not depend on memory.
Clarify what requires another professional assessment after removal, repair or replacement. A record of the original installation does not automatically cover a later change.
If the work leaves an unresolved compatibility or safety question, do not treat collection as approval for use. Resolve the issue with the installer before relying on the equipment.
Check the exact equipment details
Send TorchSA the model identifiers and your product questions before choosing accessories.
When one accessory changes
Replacing a light, changing an optic or receiving different charging equipment creates a new documentation task. A previous compatibility decision applies to the assessed configuration, not every later variation.
Start with the changed item. Copy its exact identifier, obtain the matching manual and flag every earlier compatibility statement that depended on the previous accessory.
Then return the affected questions to the appropriate professional. Do not assume that a new version uses the same interface, supplied hardware, charging method or care instructions.
For a charging-only change, verify the replacement equipment against the exact accessory’s documentation before connecting it. For a mounted-accessory change, include installation and holster compatibility in the reassessment.
Keep the old and new records clearly separated. Mark superseded documents so that a future enquiry does not accidentally quote instructions for equipment you no longer use.
Troubleshooting
The manual does not match the equipment
Stop the setup process and obtain the correct document using the exact model identifier. Similar photographs and shared family names do not resolve a mismatch.
Keep the incorrect manual out of the active handover pack. Otherwise, the same uncertainty returns during charging, maintenance or a later repair.
The charging indicator seems unfamiliar
Check the indicator explanation in the matching manual and confirm the specified charging equipment. Do not interpret the colour or flashing pattern from memory of another device.
If the documented behaviour does not match what you observe, stop charging and ask the supplier for the next step. Do not repeatedly reconnect equipment to force a different result.
The mounting hardware is unidentified
Leave the hardware unused and ask the installer or supplier to identify it. Physical resemblance is not enough to establish suitability.
Keep unidentified parts separate from confirmed components. This prevents accidental substitution during a later handover.
The existing holster no longer fits properly
Stop relying on that holster with the changed configuration. Ask a qualified professional to assess an appropriate arrangement rather than forcing the equipment into place or altering retention features yourself.
Record the assessed configuration with the holster details. Revisit the decision whenever a relevant accessory changes.
The accessory moves or shows damage
Stop using the affected equipment and refer it to the installer or supplier. Do not compensate by tightening unidentified fasteners or applying an unspecified compound.
Describe what changed and when you noticed it. A clear fault description is more useful than an attempted repair that obscures the original problem.
Customise your workflow
Keep the process proportionate to the equipment, but retain the same decision gates: exact identification, matching documentation and a resolved compatibility assessment.
For personal equipment, one folder containing manuals, correspondence and the installation record keeps future enquiries straightforward. Store sensitive identifiers securely rather than in a public photo album.
For multiple equipment sets, give each record a distinct internal label. Keep chargers and supplied components associated with the correct record, especially when accessories look alike.
TorchSA serves public and wholesale buyers. State which type of enquiry you have when requesting product information, and separate product questions from installation questions requiring a gunsmith’s assessment.
FAQ
Can I assume every PL-Mini and OSight combination fits?
No. Exact accessory versions, firearm interfaces and the required hardware need separate confirmation. Use matching documentation and a qualified gunsmith’s assessment rather than a product-family name.
What should I prepare before asking about compatibility?
Prepare the exact equipment identifiers, matching manuals and your unresolved questions. Include relevant holster details, but keep serial numbers and personal information out of public enquiries.
Does a red-dot sight replace a weapon light?
No. A red-dot sight provides an aiming reference, while a weapon-mounted light provides illumination. Neither replaces safe handling or an independent light for ordinary searching.
Can I use a charger because its connector fits?
No. Confirm that the charger is specified for the exact accessory before connecting it. Connector fit alone does not establish electrical compatibility.
Should I keep using a holster after adding an accessory?
Do not assume the existing holster remains suitable. Have the changed configuration assessed for appropriate fit and safe retention before relying on it.
What should I do if an installed accessory becomes loose?
Stop using the affected equipment and contact the installer or supplier. Do not improvise a repair with unidentified fasteners or unspecified tightening instructions.
Can TorchSA help with product questions before I arrange installation?
Use TorchSA’s contact channel to ask about exact product details. Have the model identifiers ready, and direct physical installation and firearm compatibility assessments to a qualified gunsmith.
One last thing
Keep a record of why a combination was accepted, not just a photograph of the finished equipment. The photograph shows appearance; the record preserves the exact identifiers, documents and professional decisions you need when something changes.
Before your next enquiry, check that the record still describes the equipment in front of you. That small administrative check prevents an old answer from becoming an assumption about a new setup.